
How to paint on ceramic mugs? It's a question many DIY enthusiasts ask, and we're here to provide the perfect answer.
Whether you're a beginner or an experienced artist, painting on ceramic mugs can be a fun and rewarding project. In this comprehensive guide, we’ll walk you through eight distinct and creative techniques to help you achieve stunning results. From using acrylic paint and paint pens to applying decals and creating watercolor effects, our step-by-step instructions will ensure your mugs look professionally crafted.
At Global Reach Ceramic, we believe that painting on ceramic mugs is an art anyone can master with a bit of guidance and the right materials. Whether you're looking to create personalized gifts, add a unique touch to your kitchenware, or simply explore your artistic side, our step-by-step guide will walk you through the process.
With our high-quality ceramic products and easy-to-follow instructions, you'll be able to transform plain mugs into stunning pieces of art. Dive in and discover how you can bring your creative visions to life with Global Reach Ceramic.
Painting on ceramic mugs can be a delightful and fulfilling activity. To ensure your project is successful and enjoyable, it's important to start with the right materials and a well-prepared workspace. This guide will help you get everything you need and set up your painting area for optimal creativity and efficiency.
Selecting high-quality ceramic mugs and appropriate paints is crucial for achieving the best results. Here's a breakdown of what you need:
Opt for plain, unglazed ceramic mugs or those with a smooth, glazed surface. Unglazed mugs allow for better paint adhesion, while glazed mugs can be painted with the right type of paint.
To protect your design and make it dishwasher-safe, use a clear acrylic sealant or a food-safe glaze.
Having a well-organized and clean workspace is essential for a smooth painting process. Here are some tips to prepare your area:
Choose a space with good lighting and ample ventilation. Natural light is ideal, but if that's not possible, use bright, adjustable lamps to ensure you can see your work clearly.
Cover your work surface with newspaper, a plastic sheet, or a disposable tablecloth to protect it from paint spills. You might also want to wear an apron or old clothes to avoid stains.
Arrange all your materials within easy reach. This includes your ceramic mugs, paints, brushes, water for cleaning brushes, paper towels, and any other tools you plan to use. Keeping everything organized will save you time and make the painting process more enjoyable.
Before you start painting your mug, test your paints and brushes on a piece of paper or an old mug. This will help you get a feel for how the paint flows and how the brushes handle, ensuring you achieve the desired effect on your final piece.
Keep some inspiration nearby, whether it's photos of other painted mugs, sketches of your design ideas, or color swatches. This can help spark creativity and keep you focused on your project.
By carefully selecting your materials and setting up a well-organized workspace, you'll be ready to start painting on your ceramic mugs with confidence. Enjoy the process and let your creativity shine!

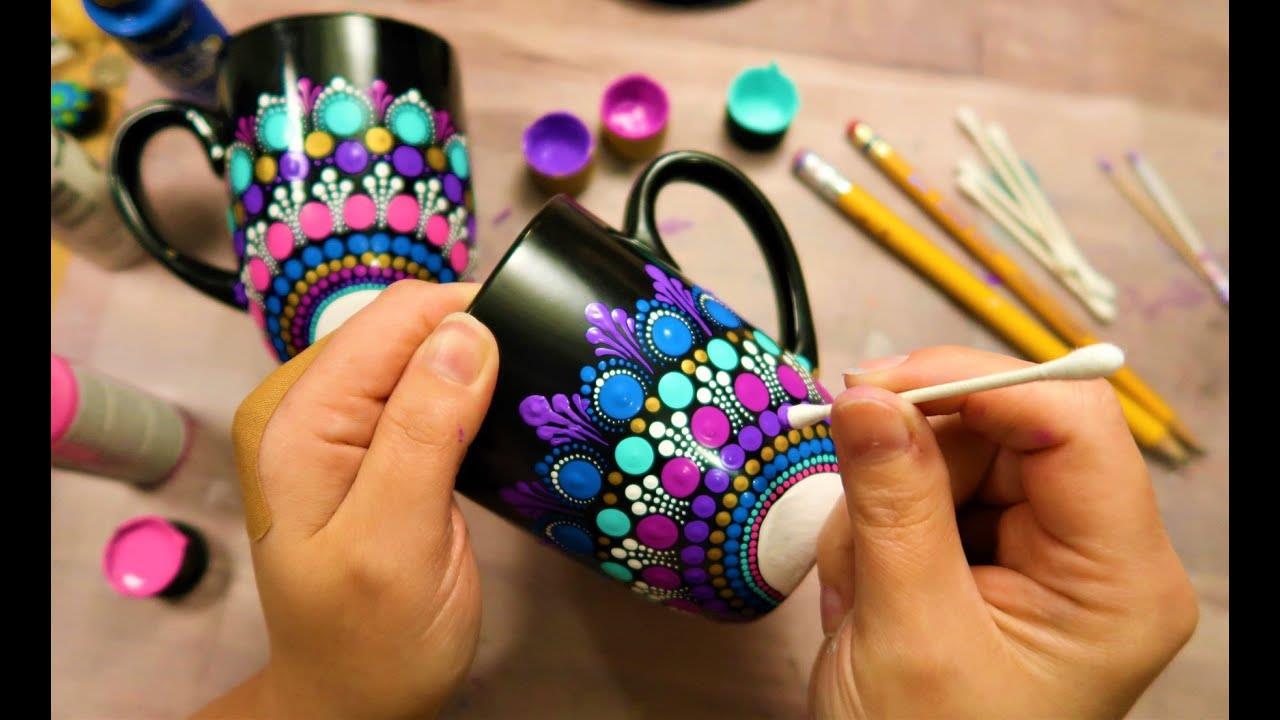
Using acrylic paint on ceramic mugs is a straightforward and enjoyable process that yields vibrant and durable results. Start by gathering your materials, including ceramic-specific acrylic paint, various paintbrushes, a plain ceramic mug, a palette for mixing paint, and paper towels.
Begin by washing the mug with soap and water to remove any dirt or grease, then dry it completely. Plan your design by sketching it on paper first, and if necessary, lightly draw it on the mug with a pencil. Apply the acrylic paint in thin, even coats, allowing each coat to dry completely before applying the next. This method ensures an even and vibrant finish.
After completing your design, let the mug dry for 24 hours. For added durability, you can seal the paint with a clear acrylic sealant following the manufacturer’s instructions.
Step-by-Step Guide to Using Acrylic Paint on Ceramic Mugs
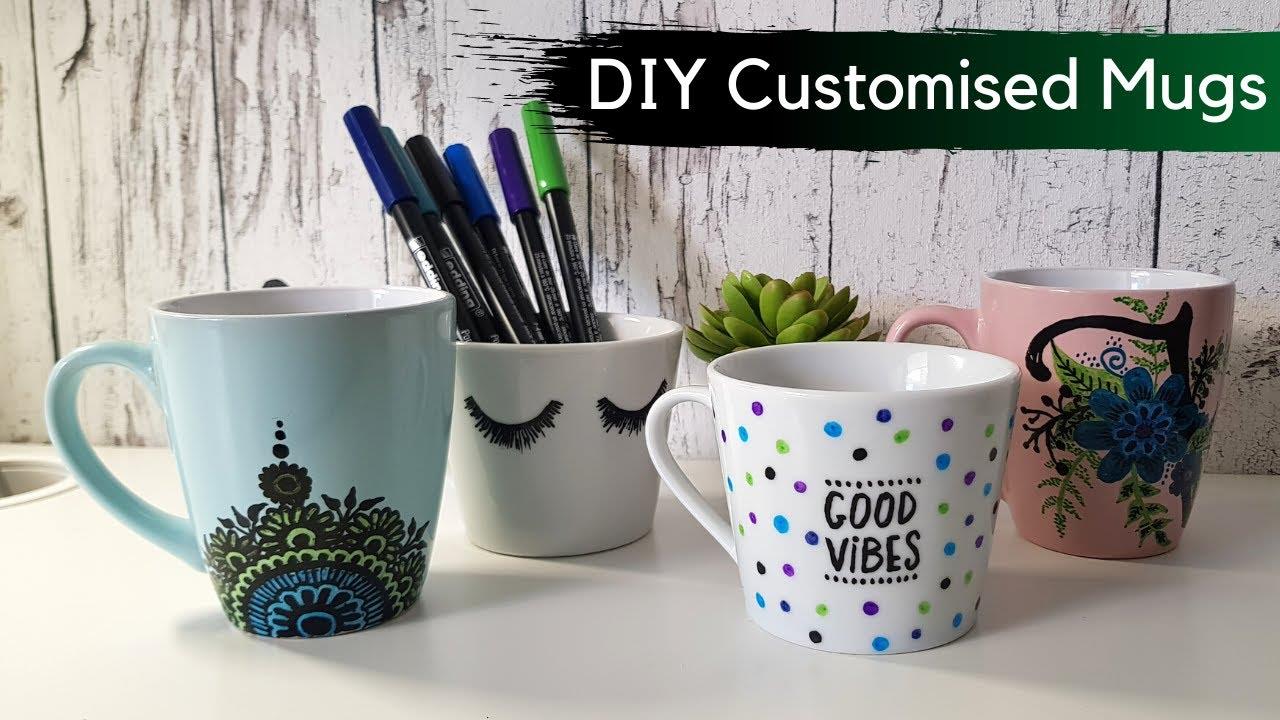
Paint pens are ideal for adding intricate designs and fine details to ceramic mugs. To start, gather oil-based or acrylic paint pens, a plain ceramic mug, and paper towels. Wash the mug thoroughly with soap and water, then dry it completely. Shake the paint pen well to mix the paint inside and test it on a scrap piece of paper to ensure a smooth flow. Begin drawing your design directly on the mug, applying light pressure to avoid smudging.
Once finished, allow the design to dry completely. To protect your artwork, you may apply a clear acrylic sealant over the painted areas, following the sealant's application and drying instructions.
Step-by-Step Guide to Using Paint Pens on Ceramic Mugs
Porcelain markers are perfect for creating fine lines and detailed patterns on ceramic mugs. Gather your porcelain markers and a plain ceramic mug. Clean the mug with soap and water to remove any dirt or grease, and dry it completely. If needed, lightly draw your design on the mug with a pencil.
Apply the porcelain marker to the mug, using light pressure to avoid smudging. Allow the design to dry according to the marker’s instructions, which may take several hours. Some porcelain markers require baking to set the design permanently, so follow the marker’s instructions for baking times and temperatures if necessary.
Step-by-Step Guide to Using Porcelain Markers on Ceramic Mugs
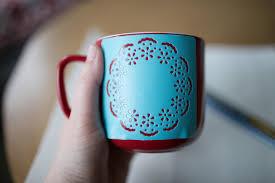
Using stencils can help create consistent and professional-looking designs on ceramic mugs. You’ll need stencils, tape, acrylic paint or paint pens, a sponge or brush, and a plain ceramic mug. Start by washing and drying the mug thoroughly. Secure the stencil on the mug with tape to prevent it from moving.
Dip a sponge or brush into the paint and dab it onto the stencil, covering all the open areas. Avoid using too much paint to prevent bleeding under the stencil. Carefully remove the stencil while the paint is still wet and let the design dry completely.
Step-by-Step Guide to Using Stencils on Ceramic Mugs

Applying decals to ceramic mugs is an easy way to add intricate designs. Gather ceramic decals or decal paper, a plain ceramic mug, scissors, water, and a soft cloth. Begin by washing and drying the mug. Cut out the decal to the desired shape and size, then soak it in water until it loosens from its backing.
Slide the decal onto the mug and smooth out any bubbles with a soft cloth. To set the decal, bake the mug in the oven according to the decal instructions, which usually involves heating the mug to a specific temperature and baking for the recommended time.
Step-by-Step Guide to Applying Decals on Ceramic Mugs
Using oven-bake paints allows for durable and vibrant designs on ceramic mugs. Gather oven-bake paints, paintbrushes, and a plain ceramic mug. Start by washing and drying the mug thoroughly. Apply the oven-bake paint to the mug using a brush, applying thin, even coats and allowing each coat to dry before applying the next. Place the mug in a cool oven, then heat it to the temperature specified by the paint instructions. Bake for the recommended time to set the paint, then allow the mug to cool down gradually in the oven.
Step-by-Step Guide to Using Oven-Bake Paints on Ceramic Mugs
Etching cream can create a permanent design on ceramic mugs. You’ll need etching cream, stencils (optional), a brush, a plain ceramic mug, and gloves. Wash and dry the mug thoroughly.
Apply the etching cream to the mug using a stencil for guidance or freehand. Brush the cream onto the mug where you want the design, then let it sit for the time specified by the manufacturer, usually a few minutes. Rinse the mug thoroughly with water to remove the cream and reveal the etched design.
Step-by-Step Guide to Using Etching Cream on Ceramic Mugs
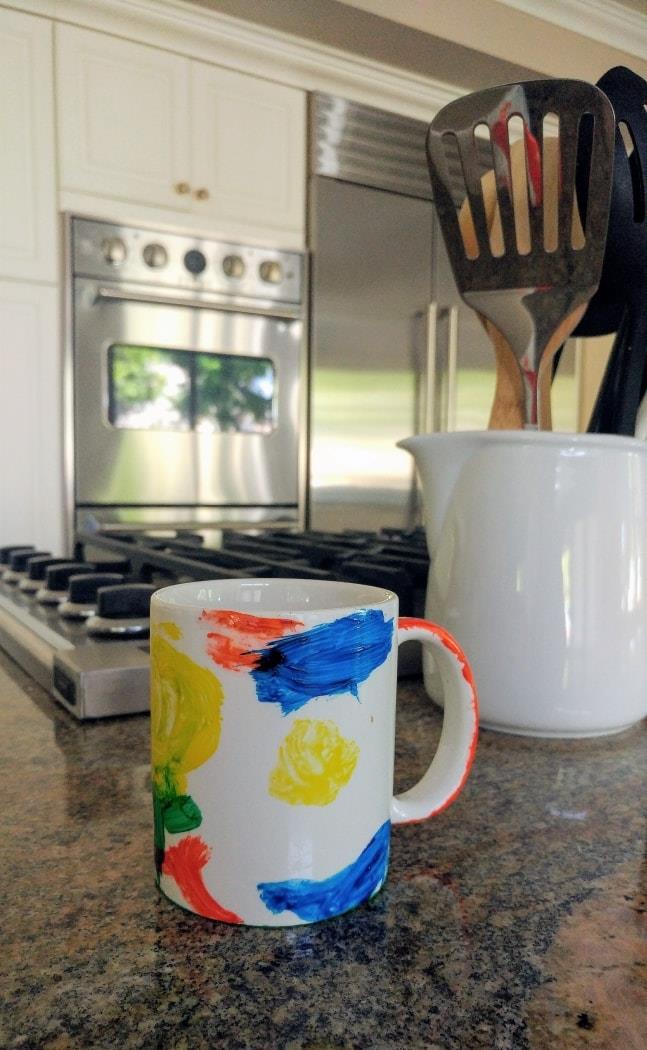
Creating watercolor effects on ceramic mugs adds a soft and unique look. Gather a watercolor paint palette suitable for ceramics, brushes, water, a plain ceramic mug, and clear glaze (optional).
Begin by washing and drying the mug. Mix the watercolor paints with water to achieve a soft, blended look, then apply the paint to the mug, blending colors as desired.
Allow the design to dry completely. To protect the watercolor effect, apply a clear glaze over the painted areas, following the glaze instructions for application and drying times.
Step-by-Step Guide to Creating Watercolor Effects on Ceramic Mugs
By following these detailed, step-by-step guides, you can confidently create beautiful, personalized ceramic mugs using a variety of techniques. Enjoy your creative journey with Global Reach Ceramic!
Proper care is essential to keep your painted mugs looking beautiful and long-lasting. Hand wash the mugs with mild soap and a soft sponge to preserve the paint. Avoid using abrasive scrubbers or soaking the mugs for extended periods. If you’ve sealed the design, ensure the sealant is food-safe and follow any specific care instructions provided.
With Global Reach Ceramic’s high-quality products and easy-to-follow instructions, transforming plain mugs into stunning pieces of art has never been easier. Explore your creativity and bring your artistic visions to life with our comprehensive guides. Enjoy the satisfaction of creating personalized, beautiful ceramic mugs that will impress and inspire.
Have you ever wondered how to paint on ceramic mugs to create your own personalized, stunning designs? If you have, share your experience with us and our audience!
2026-04-02
2026-04-02
2026-01-19
2026-01-19
2025-12-17
2025-12-17
2025-12-04
2025-12-04