
Ceramic planters look elegant, but they collect soil residue, mineral crust, and algae faster than most growers expect. You notice this each time the pot loses its color or shows white rings along the inner wall. These signs tell you the planter needs a precise cleaning method, not random scrubbing.
But how to clean ceramic planters?
You clean ceramic planters by removing soil, scrubbing with mild cleaners, dissolving mineral crust, rinsing with warm water, and drying the pot fully so the clay stays stable and ready for planting.
At this point, it matters where your planter comes from. Dongsheng Ceramic has crafted high-quality ceramic products with advanced slip-casting, bisque firing, glazing, and strict inspection systems. With over 200 skilled production workers and full global audit approvals, the company produces durable planters with stable clay bodies, consistent glazing.
Cleaning ceramic planters demands specific tools because each stain forms differently. You use these tools to break mineral crust, remove compacted soil, and clean the surface without causing scratches.
| Tool | Description |
| Nylon Scrub Brush | Removes loose soil and root film without marking glazed or unglazed ceramic. |
| Soft-Bristle Toothbrush | Reaches tight corners and lifts debris around rims and drainage points. |
| Plastic Scraper | Breaks dried soil rings and compacted debris without chipping the pot surface. |
| Microfiber Cloth | Wipes moisture and residue without leaving fibers on porous clay. |
| Mild Dish Soap | Cuts organic dirt such as algae film, plant sap, and root slime. |
| Warm Water Bucket | Softens soil layers and loosens debris before scrubbing. |
| Stiff Wooden Stick or Chopstick | Dislodges stuck roots from seams and interior curves without harming glazing. |
| Rubber Gloves | Protects your hands from dirt, organic residue, and bacteria in old soil. |
| Drainage Screen or Mesh Piece | Catches debris during rinsing and keeps bits from entering drains. |
Ceramic planters collect soil residue, algae film, and mineral traces over time. You clean them with a precise sequence that removes buildup fast and protects both glazed and unglazed surfaces.
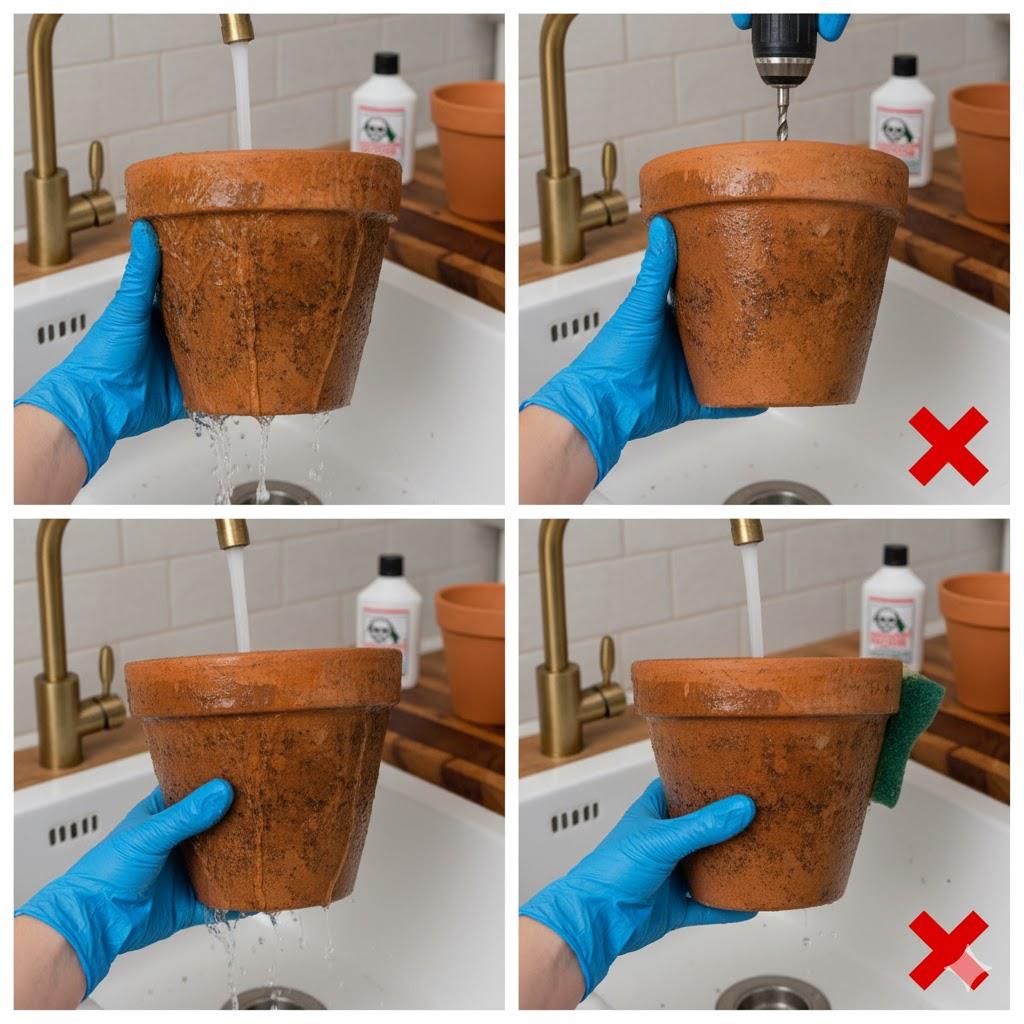
Start by rinsing the glazed planter with warm water so you can clear loose dirt from the slick coating. As the water runs, you can easily release soil patches that cling to the glossy surface. This way, you will get a clean starting point and set up the soap application in the next step.
Spread mild dish soap across the glazed walls because this bonds with algae film and organic residue that collect on the non-porous coating. As you coat each section, you soften surface grime. This prepares the planter for the controlled scrubbing you will do next.
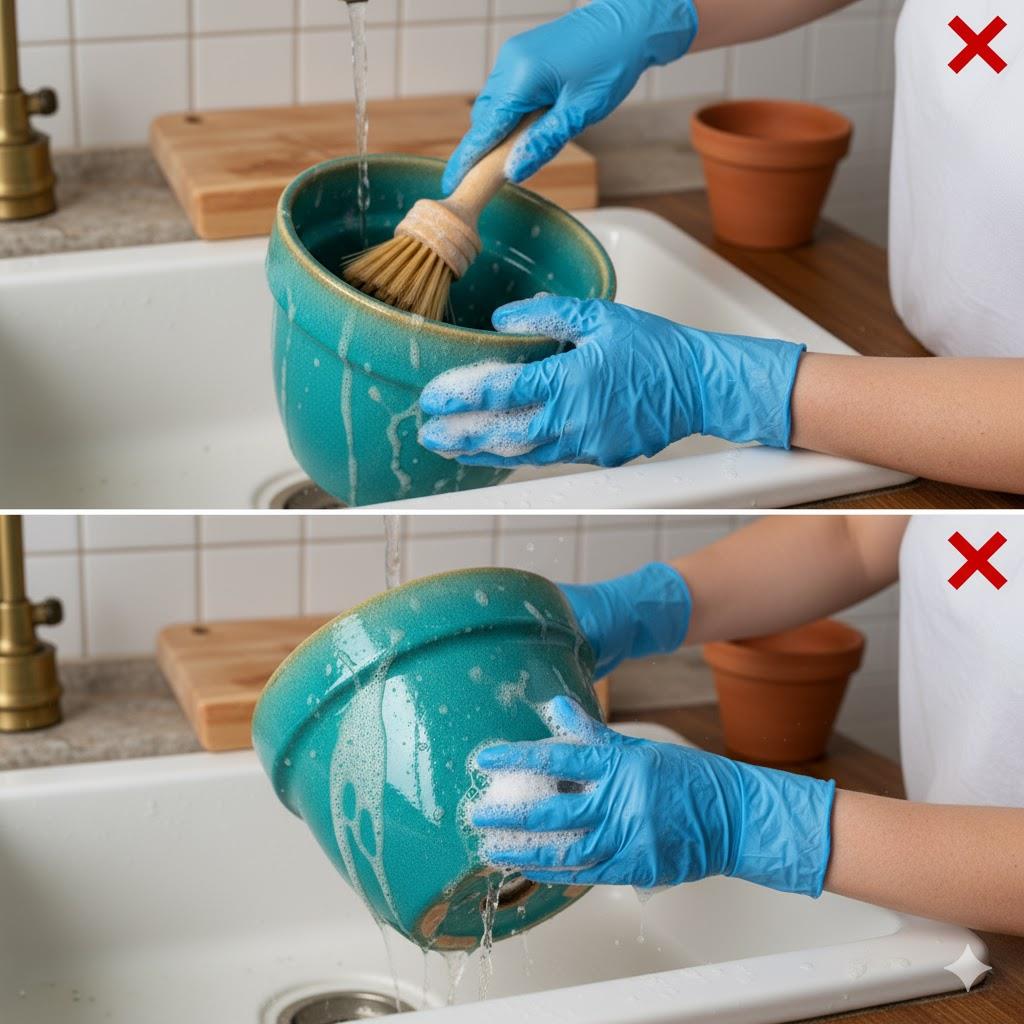
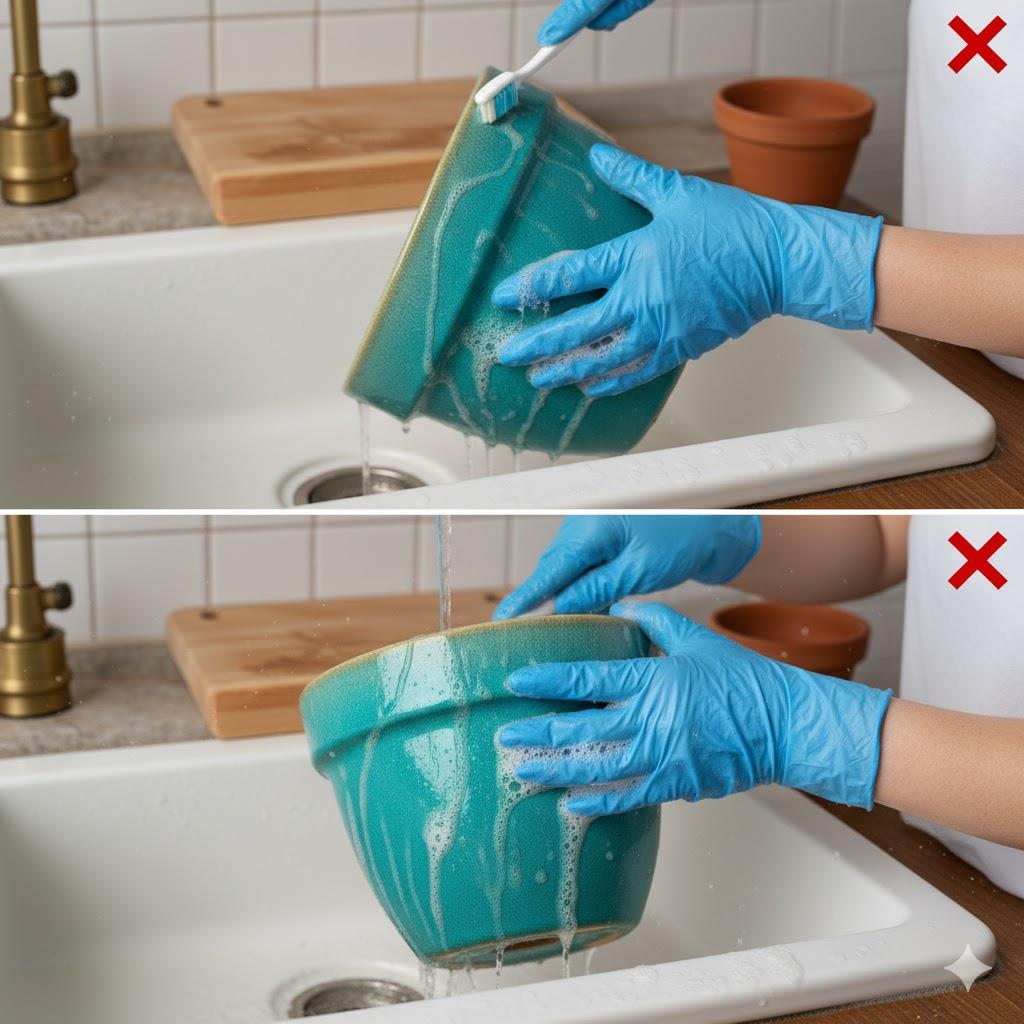
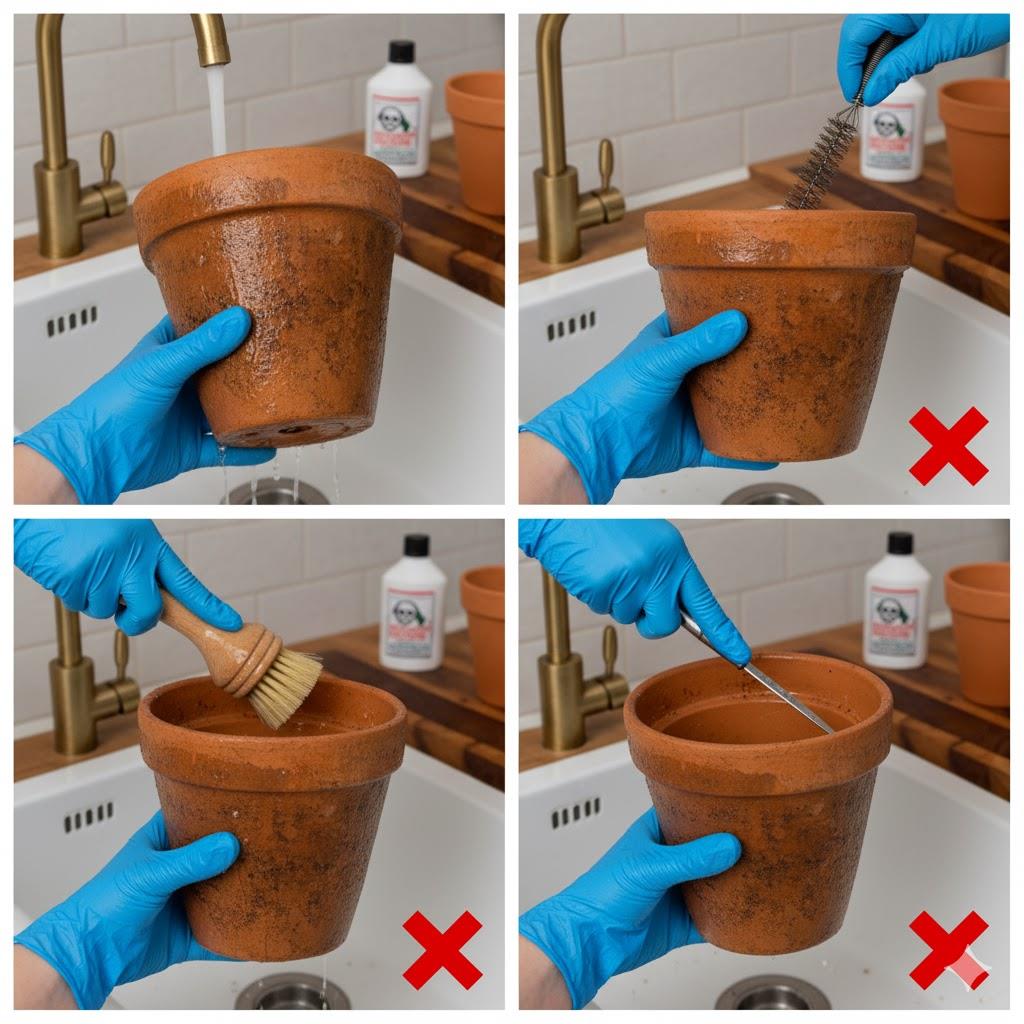
Scrub the glazed surface using a nylon brush and steady circular strokes so you break down residue without scratching the glossy layer. As you move across the curves, you expose smaller buildup zones that hide near the edges. These points become your focus in the next detailing step.
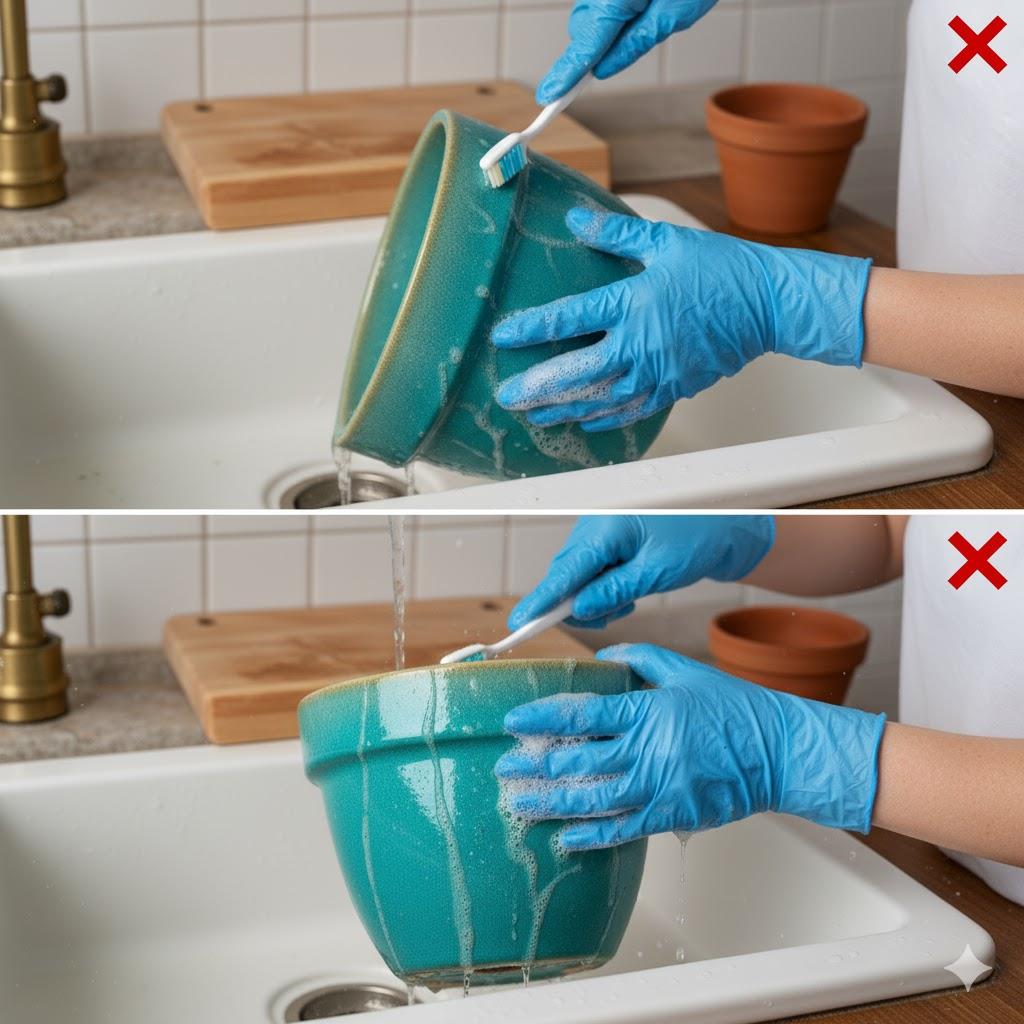
Switch to a toothbrush for the glazed rim and drainage edge because these areas trap compacted debris. As you work along the curves, you clear particles that the larger brush cannot reach. This gives the entire glazed surface an even finish before you rinse it again.
Rinse the glazed planter thoroughly with warm water so you clear soap traces and loosen particles. As the water runs clean, you restore the smooth feel of the coating. This sets the stage for the final drying step, which protects the glaze from mineral marks.
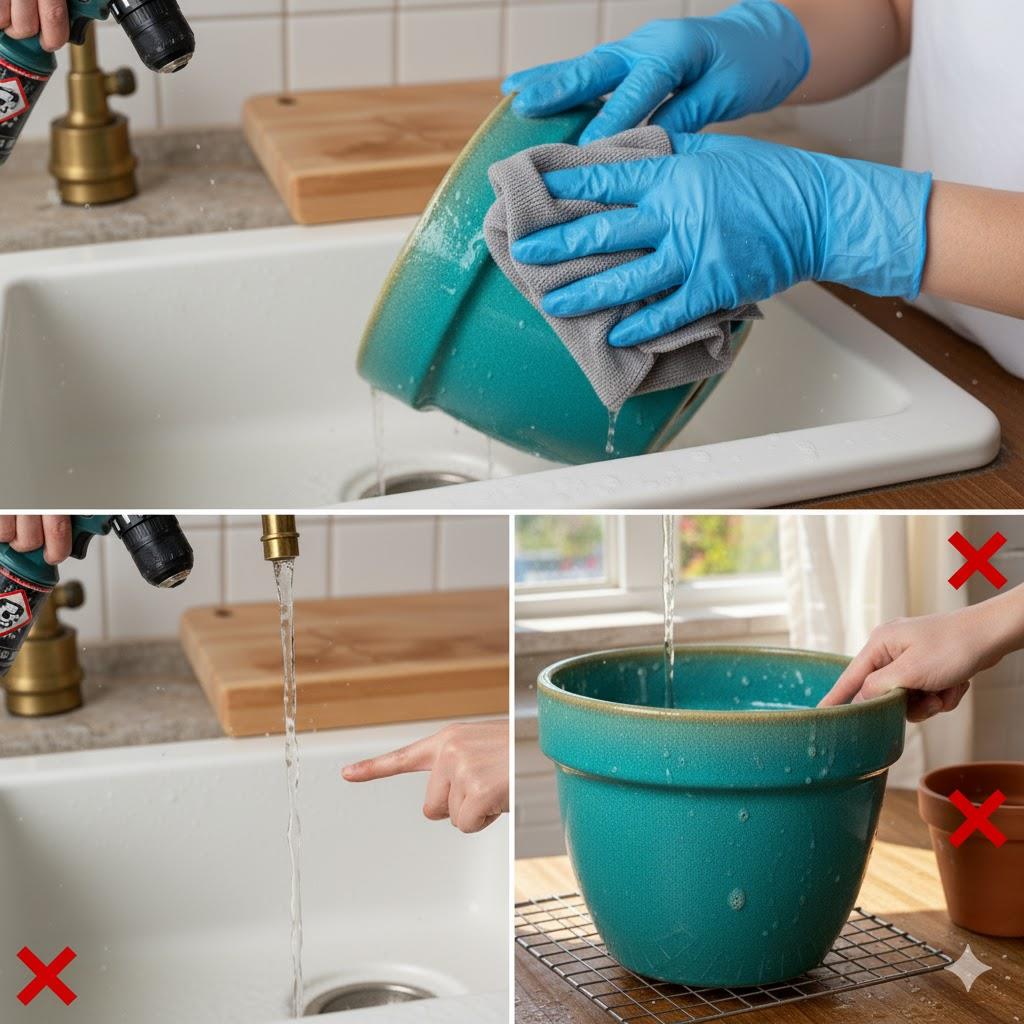
Dry the glazed planter with a microfiber cloth because standing water creates spots on shiny ceramic. As you wipe each section, you expose any missed marks that you can fix instantly. This completes the process and leaves the glazed surface ready for planting.
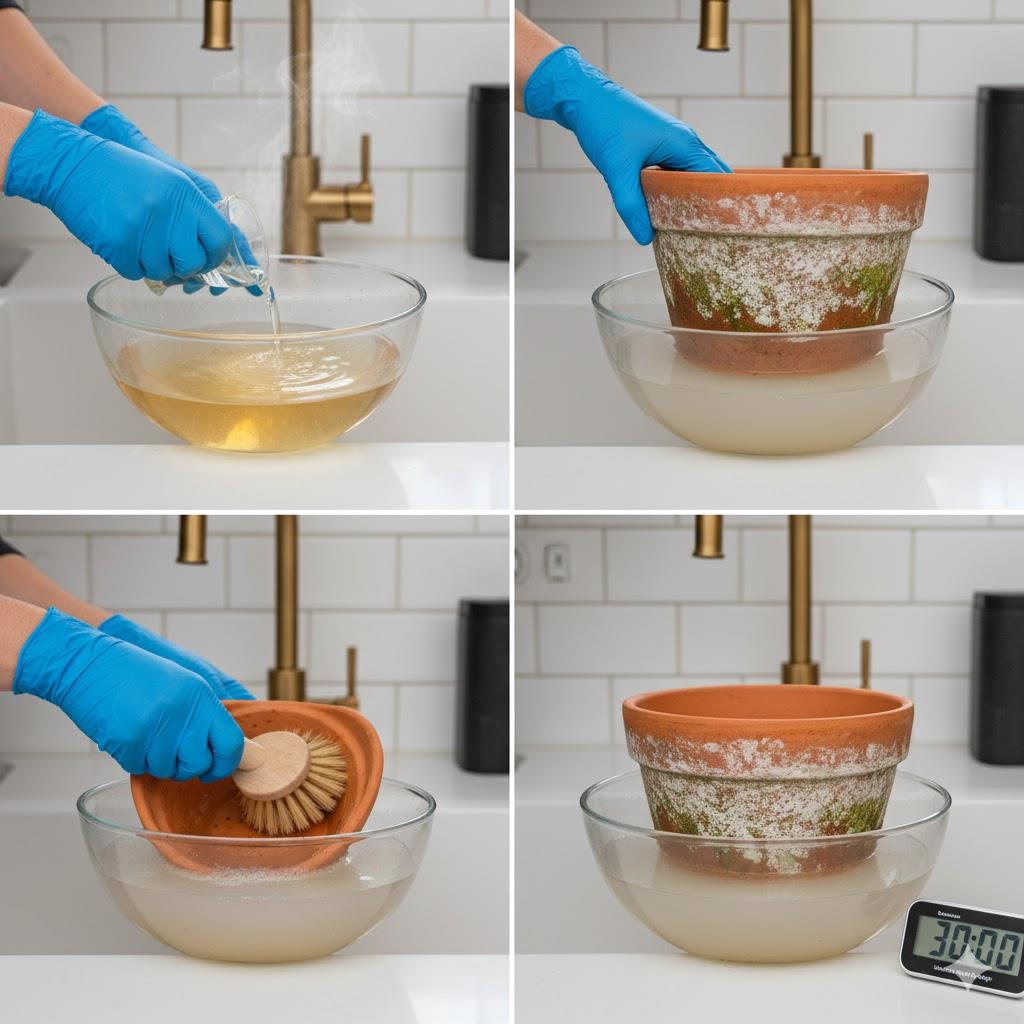
Unglazed ceramic absorbs minerals, soil residue, and moisture through its porous walls, so you clean it with a deeper process that clears internal deposits and restores the raw clay texture.
Start by rinsing the unglazed planter with warm water so you soften compacted dirt and hydrate the clay pores. As the surface becomes damp, soil fragments release from the walls. This primes the pot for the vinegar solution you will prepare next.
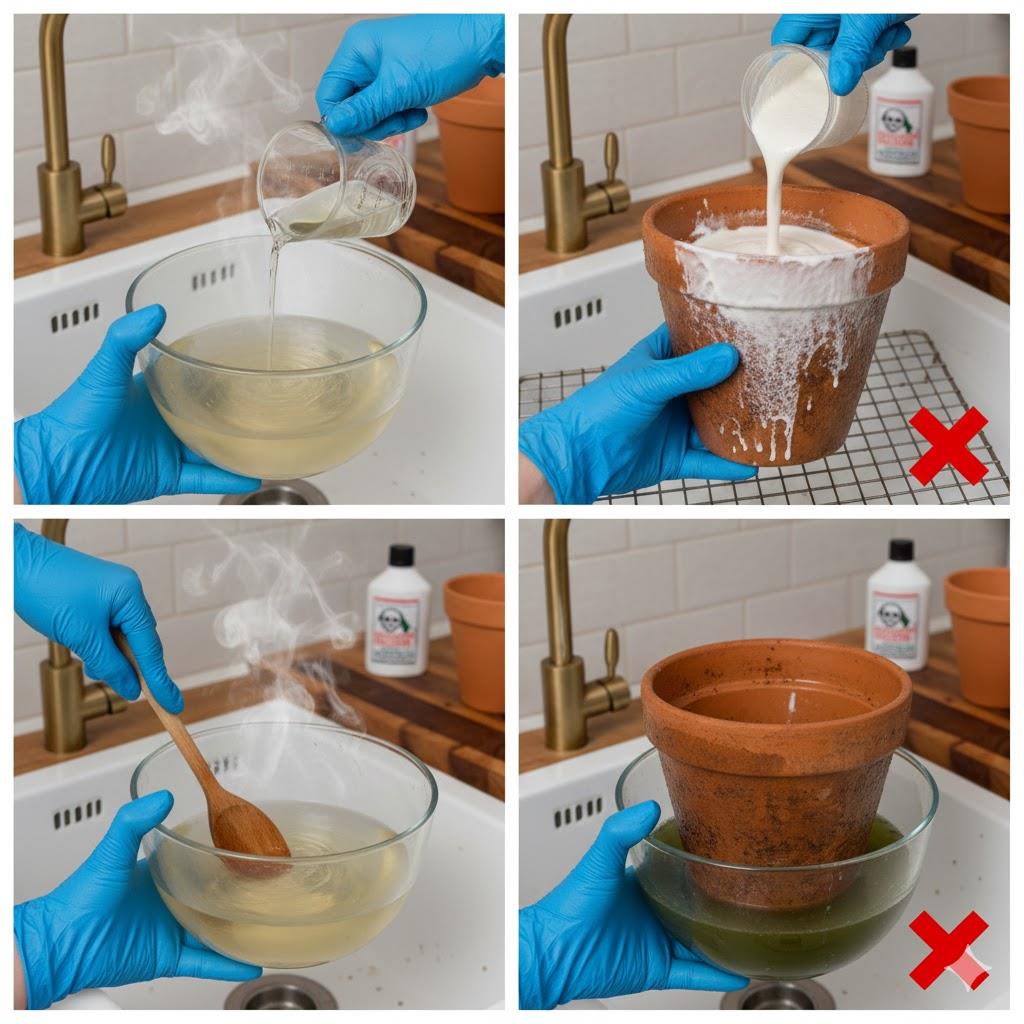
Mix four cups of warm water with one cup of white vinegar because this ratio dissolves calcium, magnesium, and salt trapped in porous clay. As you stir the solution, you create a consistent bath that penetrates deeper deposits. This gives you the right base for the scrubbing step that follows next.
Place the unglazed planter in the vinegar solution and scrub with a nylon brush so you remove dirt embedded inside the pores. As you work across the surface, you expose mineral spots that resist quick cleaning. These areas transition directly into the soaking step, which breaks them down further.
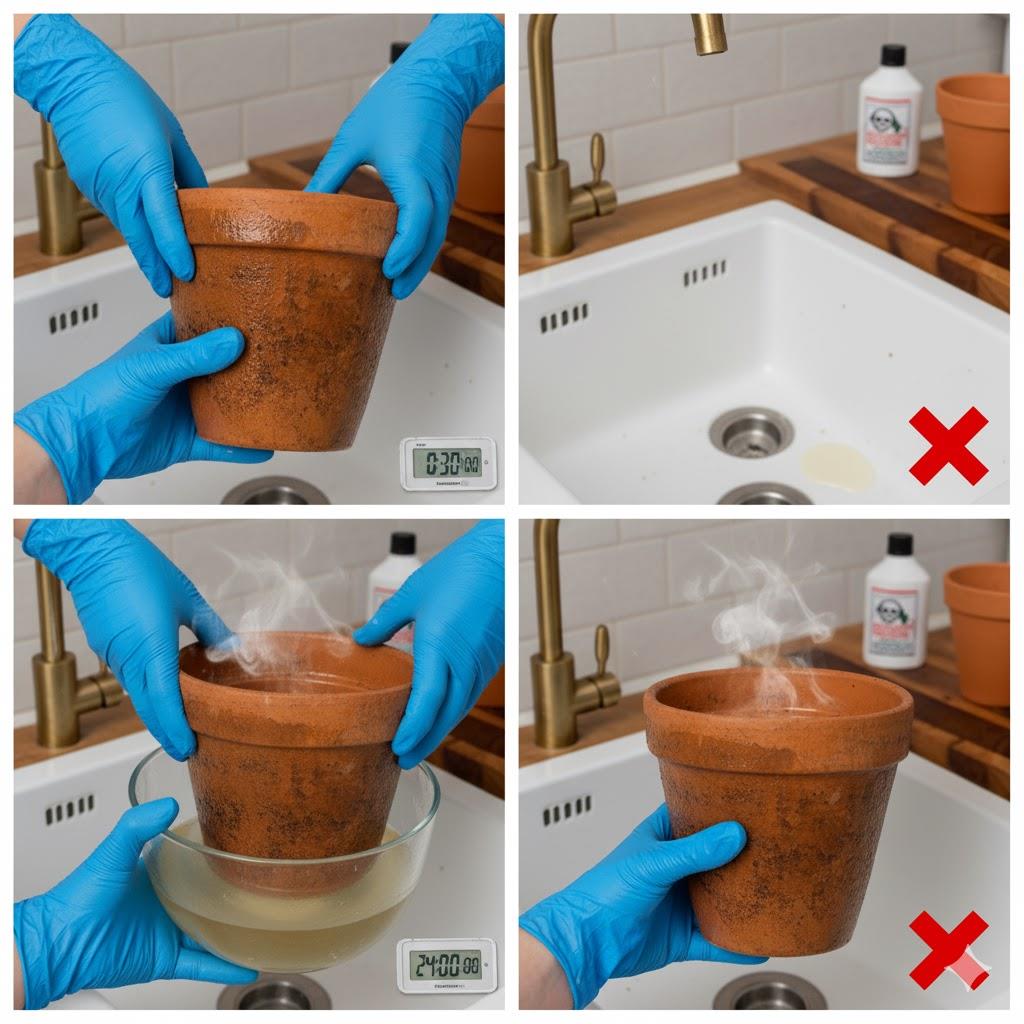
Keep the planter submerged for thirty minutes because the vinegar absorbs into the clay and reacts with salt crust, mold, and bacteria. As the clay sits in the solution, stubborn patches soften and release. This creates a cleaner surface that you rinse in the next step.
Rinse the planter with plain warm water so you flush away vinegar, scrub residue, and released mineral grains. As the water runs clear, the clay shows a more uniform tone. This prepares the pot for the long drying step that stabilizes the material.
Dry the unglazed planter with a microfiber cloth and then place it in a ventilated space. Unglazed clay holds water deep inside, so this drying stage removes moisture stored in the walls. As the pot dries fully, the surface becomes firm and ready for planting without mold risk.
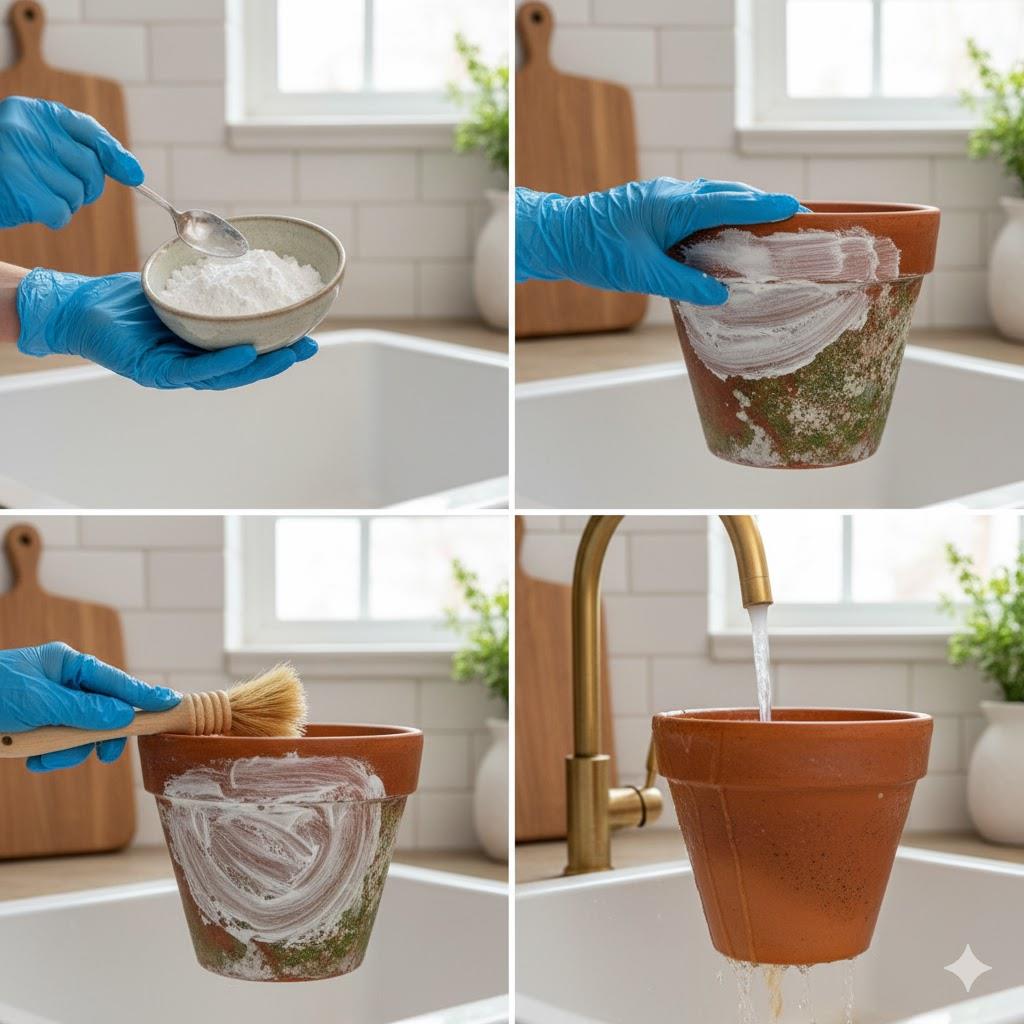
Tough stains form when minerals, algae, and salts bond to ceramic surfaces. You remove them with targeted methods that dissolve buildup, break hardened layers, and clear deep discoloration inside glazed and unglazed planters.
With this method, you can effectively target and clean the mineral crust and salt buildup that bond deep inside ceramic walls.
This method targets stubborn stains and oily deposits that cling to ceramic surfaces after repeated watering and soil contact.

If your ceramic planters have dense mineral crust and old salt rings, you can ensure pure diluted solutions for cleaning off:
Note: Apply pure vinegar again on deeply embedded crust because these zones collect thick deposits. A second treatment often clears the surface completely.
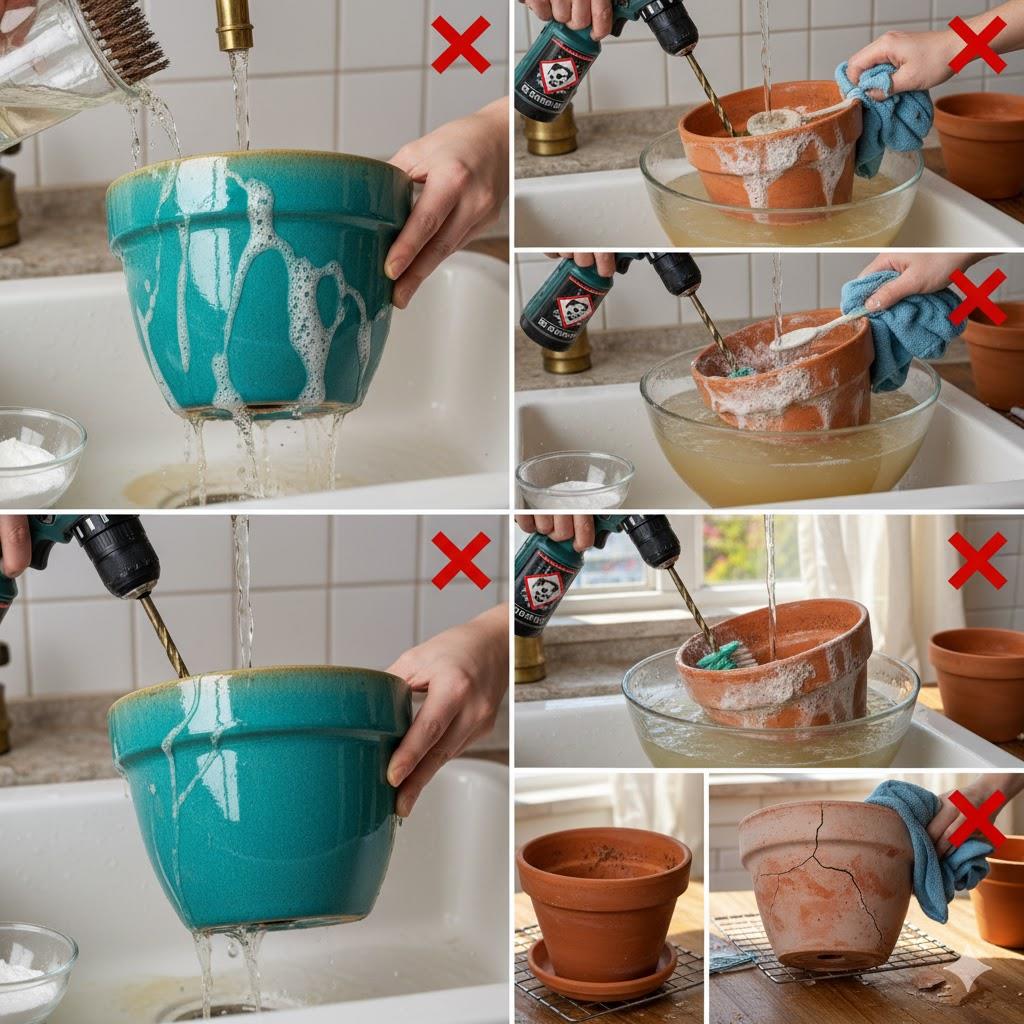
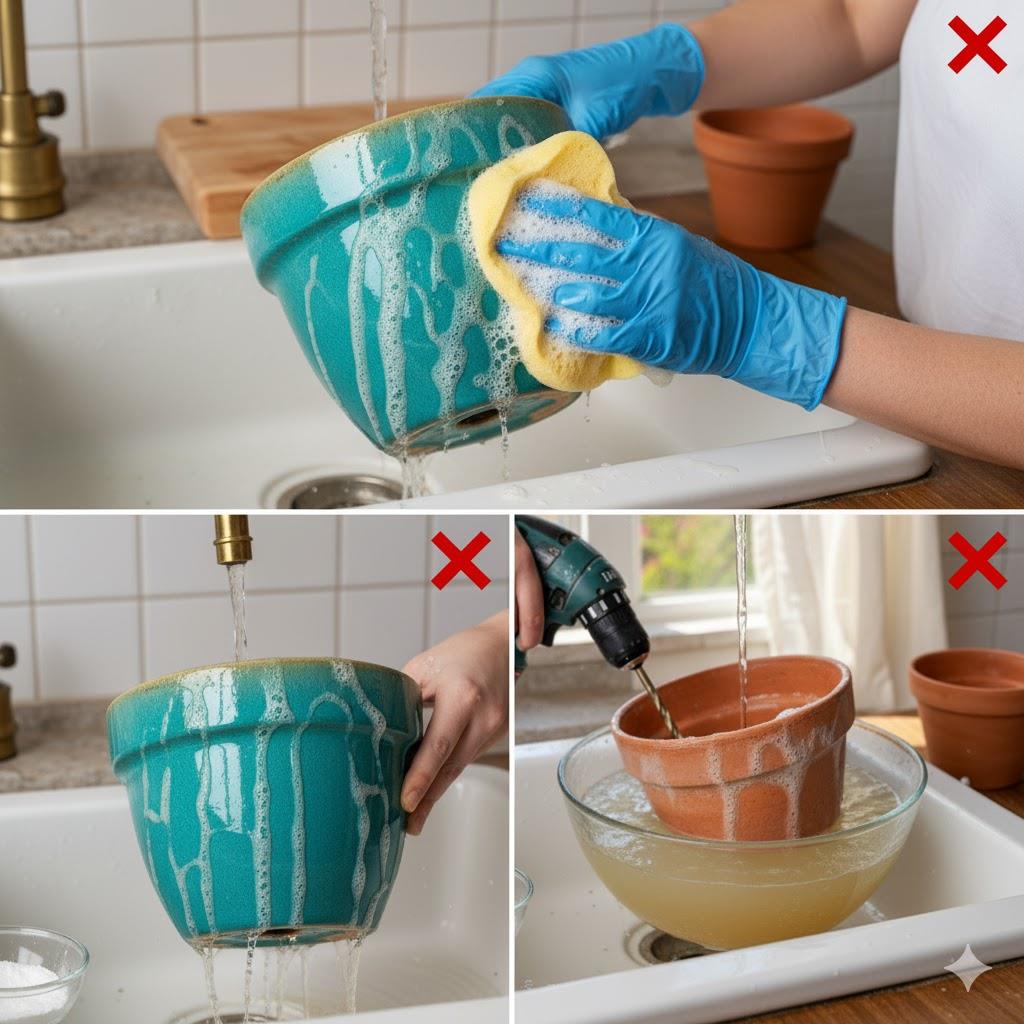
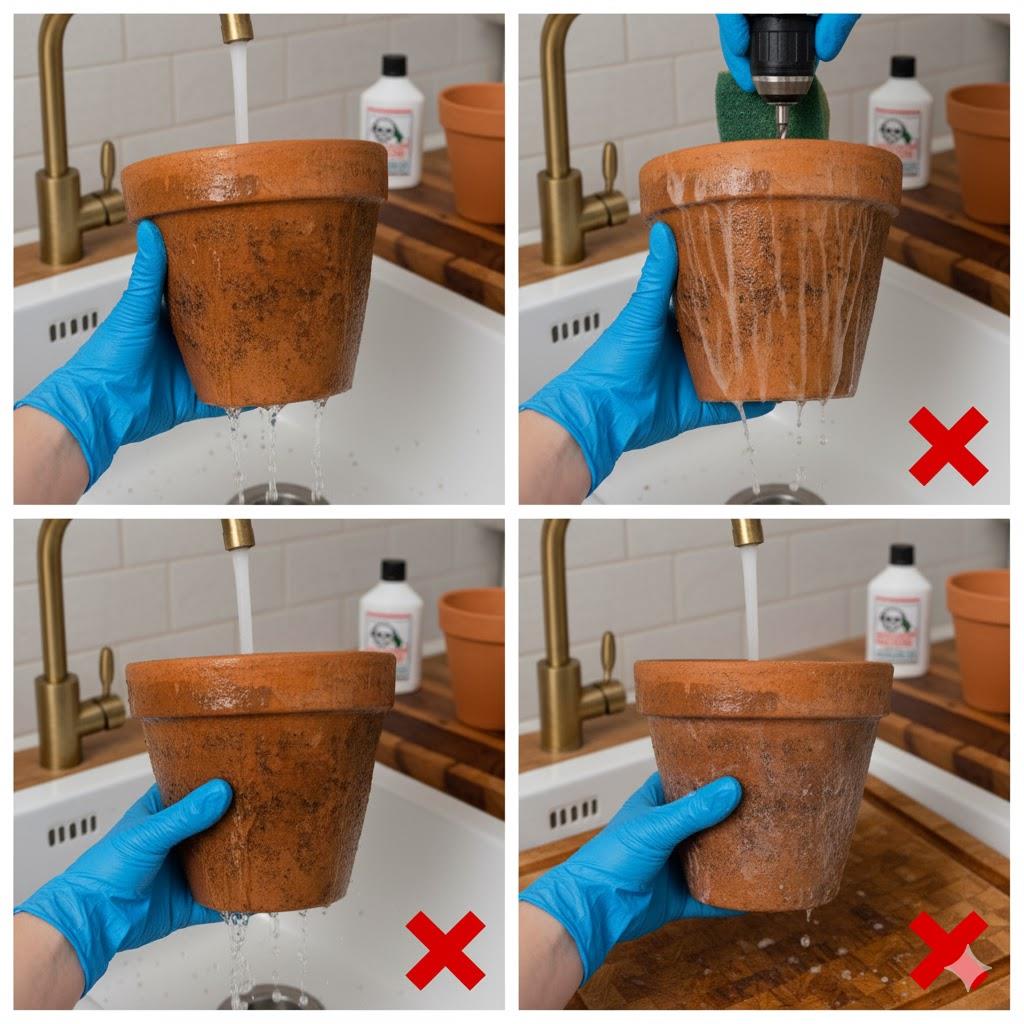
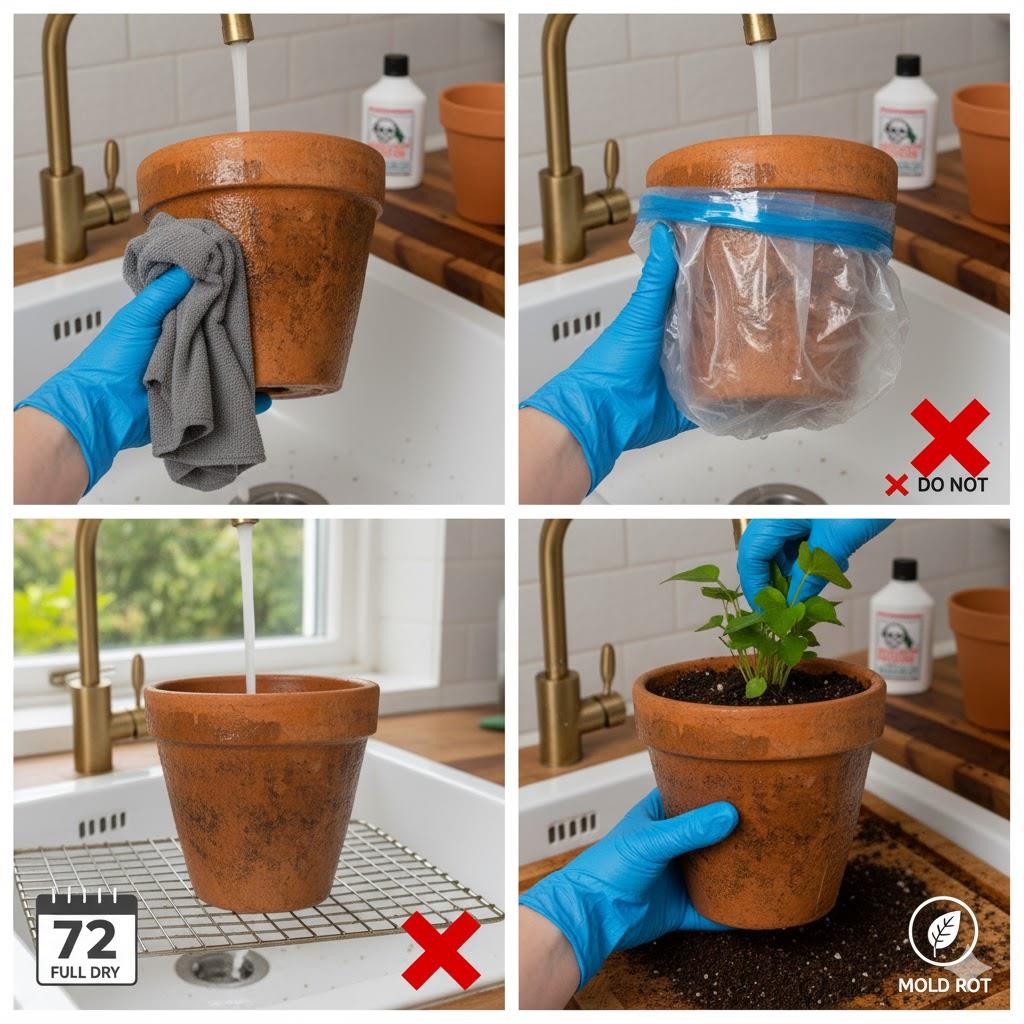
Ceramic planters crack, stain, and weaken fast if you clean them the wrong way. You avoid several specific habits because each one damages the clay, the glaze, or the internal structure.
Drill a clean base hole using a masonry bit, and keep the drill at medium speed. As you hold the planter steady, guide the bit gently and create one direct exit channel for water.
Fill the planter with a mix that includes perlite, pumice, or coarse bark, and keep the ratios balanced. As you add each layer, create wide gaps so water moves downward without strain.
Blend coarse sand or clay pellets into the entire potting mix, and break any tight clusters. As you mix thoroughly, create pathways that let water travel through every soil layer with ease.
Place the planter on pot feet or small risers, and lift the base slightly. As you set each foot, keep the drainage hole exposed so water drops straight out without touching the ground.
Set a mesh screen over the drainage hole, and press it flat. As you position it, block soil from escaping but keep the opening clear so water passes through without slowing.
You clean ceramic planters after every use because residue settles fast inside both glazed and unglazed walls. As you empty the pot, clear old soil and rinse the surface before minerals start bonding.
This prevents a hard crust from forming and stops algae from anchoring inside pores. You also protect the pot’s drainage performance because each cleaning clears fine particles that clog the lower soil layer and restrict water flow.
Seasonal care keeps ceramic planters stable through heat, moisture, and cold. You manage each stage with simple adjustments that protect the clay and keep drainage consistent. Check for cracks often, and repair small chips with weatherproof adhesive. Use pots with drainage holes, and raise them on feet so water moves out fast.
In summer, shield glazed surfaces from harsh sun. In autumn, empty unused pots and clean them well. In winter, bring dry pots indoors or wrap outdoor ones so freeze–thaw cycles never stress the ceramic.
Ceramic planters stay strong and visually clean when you remove residue, clear mineral buildup, maintain drainage, and adjust care through each season. Each step keeps the clay stable and protects both glazed and unglazed surfaces from long-term wear. With the right routine, every planter delivers better performance and lasts far longer in daily use.
For premium ceramic planters crafted with strict quality control, explore Dongsheng Ceramic and get custom or wholesale options designed for long-term durability.
Answer: Yes. Unglazed ceramic absorbs organic residue and moisture, which creates persistent odors. Rinse the pot, soak it in equal parts warm water and vinegar, and dry it in open air to clear the trapped smell.
Answer: Yes, if they use food-safe glazes and lead-free firing processes. Choose planters from certified manufacturers to avoid glaze contaminants and maintain safe growing conditions for herbs and vegetables.
Answer: Glazed planters do not need sealing because the coating blocks water absorption. Unglazed planters can use a breathable sealant only when you want slower moisture absorption without trapping water.
Answer: Cracks form when moisture remains in the clay during freeze–thaw cycles or when the rim takes impact stress. Dry the pot fully in winter and lift it from the base to avoid fractures.
Answer: Yes, but use them as decorative cachepots. Place a plastic grower pot inside and drain excess water often. This keeps roots dry and prevents water buildup in the ceramic shell.
2026-04-02
2026-04-02
2026-01-19
2026-01-19
2025-12-17
2025-12-17
2025-12-04
2025-12-04