How To Melt A Candle In A Glass Jar [Step by Step Methods]
Time of issue: 2024-12-05 11:07:38- Types of Jars Suitable for Candle Melting
- What Materials Do You Need to Melt a Candle in a Glass Jar?
- How Do You Safely Melt a Candle in a Glass Jar?
- Safe Methods to Melt a Candle in a Glass Jar
- What Are Common Mistakes to Avoid When Melting Candles in Glass Jars?
- EndNote: How To Melt A Candle In A Glass Jar
- FAQ
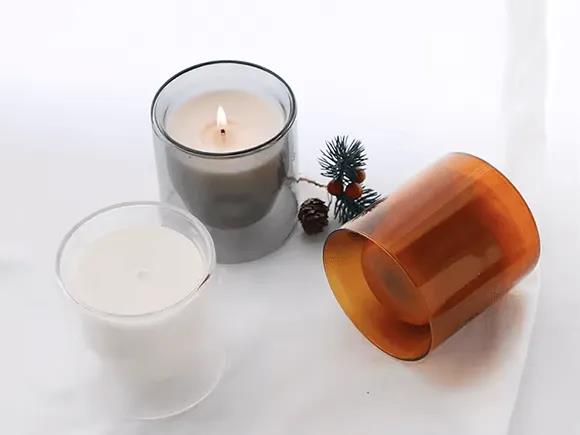
To melt a candle in a glass jar, gently place the jar in a heatproof container and surround it with water. Then heat slowly over low to medium heat, stirring the wax occasionally as it gracefully melts. Once it’s fully melted, carefully lift the jar and allow it to cool before reusing the wax or giving the jar a fresh clean.
Candles are a fantastic way to add warmth to any place. If you’re someone who enjoys the soft glow they provide, Global Reach Ceramic offers a diverse range of ceramic candle jar designs, catering to different styles, themes, and preferences.
But Melting the wax and crafting a candle can also be a rewarding experience. In this guide, we'll walk you through safe and effective methods for melting candles to ensure that you get the most out of your glass jars.
Let’s dive in and make sure you have all the materials and tips you need for a smooth melting experience.
Types of Jars Suitable for Candle Melting
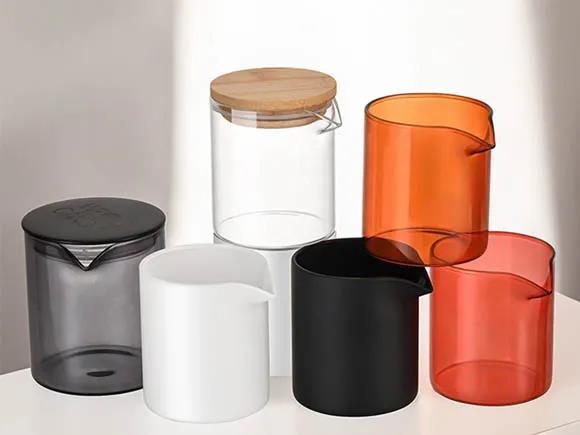
When you're melting candles, choosing the right type of jar is essential to ensure the process goes smoothly and safely.
Here are a few types of jars that are particularly well-suited for melting wax:
- Glass Jars: Glass jar is a popular choice because it’s heat-resistant and allows you to see the wax as it melts. Mason jars are a common option since they’re sturdy and readily available.
- Metal Jars: Metal jars, such as aluminum or tin, are excellent for candle making because they can handle high temperatures without warping. They also distribute heat evenly, making them great for melting wax without causing hot spots.
- Ceramic Jars: Ceramic jars are another solid choice. They hold heat well and can retain the warmth longer, which helps in melting the wax uniformly. Just be careful not to use ones with cracks, as they can break under high heat.
- Stainless Steel Containers: Stainless steel is both durable and heat-resistant, making it a good option for melting candle wax. These containers often have a non-reactive surface, ensuring that the wax won’t get contaminated.
- Pyrex or Heatproof Glass Containers: Pyrex is specifically designed for high heat, which makes it perfect for melting wax. These jars are clear, so you can easily monitor the melting process, and they won’t crack or shatter with sudden temperature changes.
What Materials Do You Need to Melt a Candle in a Glass Jar?
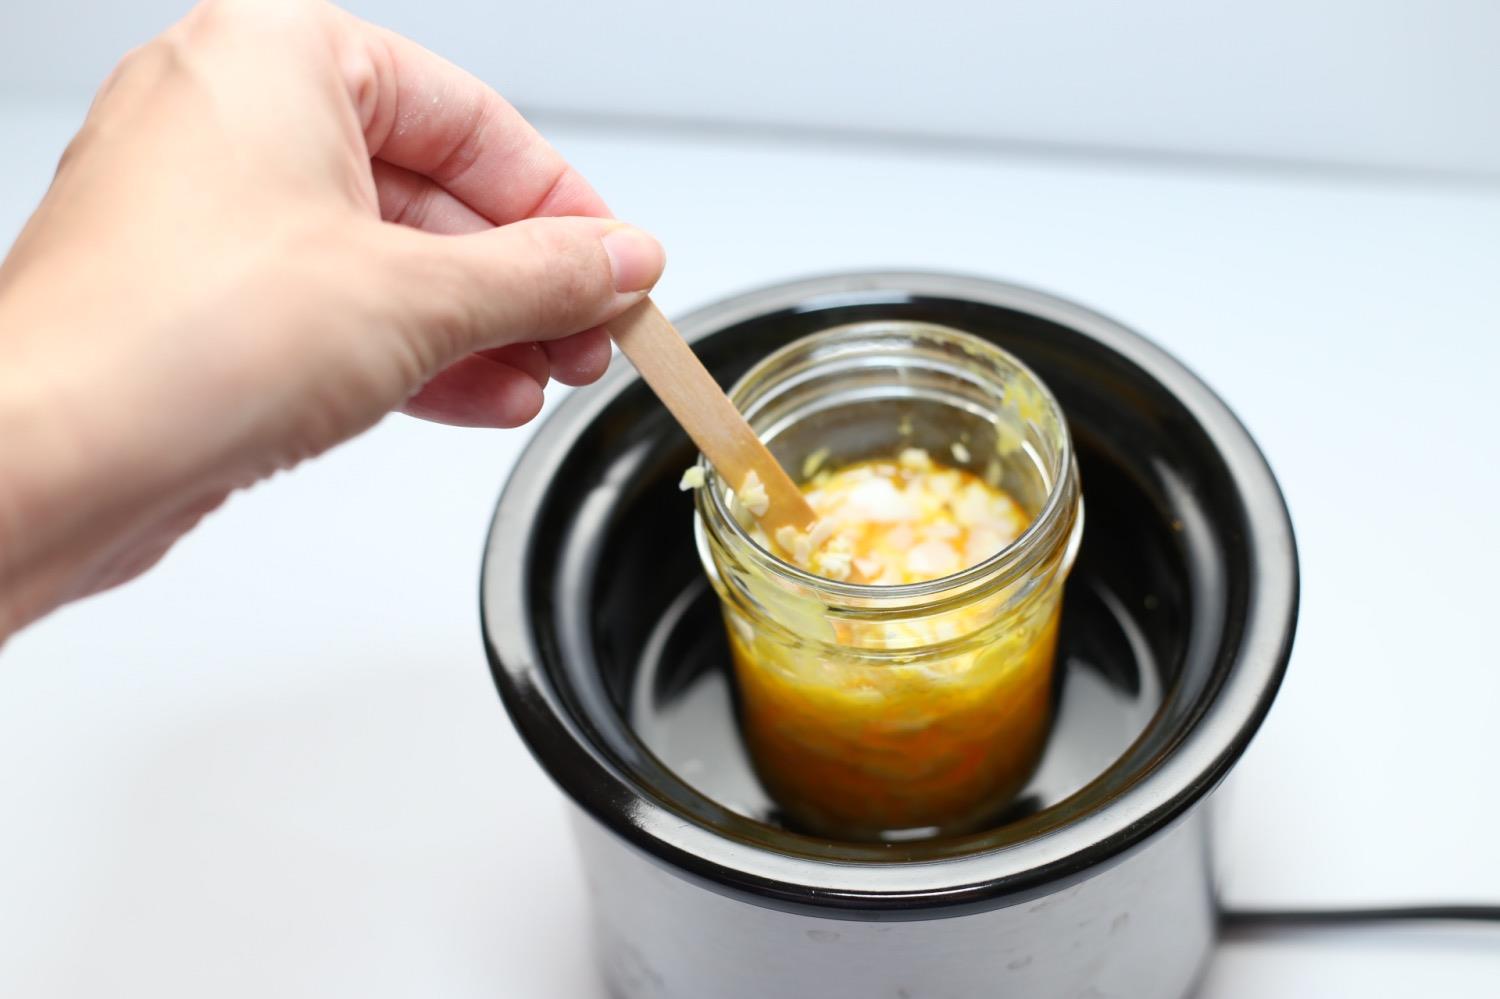
Here’s what you’ll need to melt a candle in a glass jar:
- Candle in the glass jar you want to melt.
- Double boiler or a large pot with water (alternatively, a microwave-safe container).
- Heat-safe stirring stick to mix the melted wax.
- Oven mitts or heat-resistant gloves for handling the hot jar.
- Paper towels or cloth to clean the jar if you’re repurposing the wax.
How Do You Safely Melt a Candle in a Glass Jar?
If you’ve ever found yourself with leftover candle wax or an old candle jar that you’d like to reuse, knowing the proper way to melt the wax is key. In this guide, we’ll walk you through the process of safely melting candle wax, ensuring you avoid burns, damage to the jar, or any mishaps along the way. So, let’s dive into it!
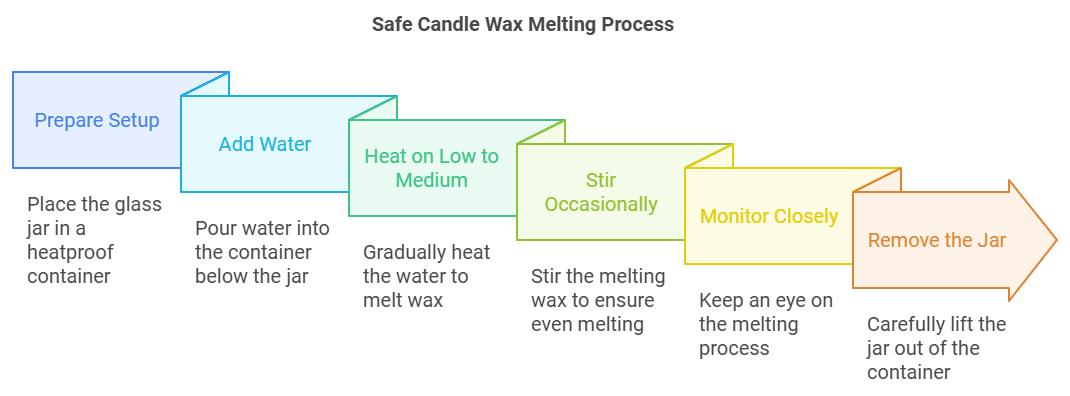
1. Prepare the Setup
First, place the glass jar containing the candle into a heatproof container, like a pot or saucepan. It's crucial that there’s enough space around the jar to allow water to surround it evenly. This setup helps distribute the heat without putting the jar directly over a flame, which could cause it to crack. By surrounding the jar with water, you're giving it a more controlled, gentle heat, which will help the wax melt evenly.
Next, we can move on to adding water to the setup to help facilitate the melting process.
2. Add Water
Now, carefully pour a few inches of water into the heatproof container, but be mindful that the water level should stay below the top of the candle jar. You don’t want the water to overflow into the jar while it’s heating up. The water's role here is to act as a heat buffer, transferring warmth to the jar in a gentle way without direct contact with the wax, which helps prevent overheating or burning.
Next, we’ll move on to heating the water. This is where the magic happens, so let’s keep an eye on it!
3. Heat on Low to Medium
Set the heat on your stove to low or medium. It’s important to heat the water slowly, allowing it to gradually warm up. This gentle heat will slowly melt the wax inside the jar without putting too much strain on the glass, which could crack if subjected to sudden temperature changes. By using low to medium heat, you ensure that the wax melts evenly without the risk of scorching.
Next, as the wax starts to melt, we’ll gently stir it to ensure it melts evenly, and avoid any scorching at the bottom.
4. Stir Occasionally
As the wax begins to soften, use a wooden stick or spoon to gently stir it. Stirring helps the wax melt evenly and prevents it from developing hot spots that could cause it to scorch or burn. This step also gives you a chance to monitor how quickly the wax is melting, so you can adjust the heat if needed. Be patient—slow and steady wins the race!
Next, we need to stay vigilant and monitor the jar as it melts. It's important to keep a close eye to ensure everything goes smoothly.
5. Monitor Closely
As the wax continues to melt, it’s essential to keep an eye on the process. Watch the water level closely to make sure it doesn’t boil over or evaporate too quickly. Also, check the jar for any signs of overheating or cracks. If everything is done correctly, the jar should stay intact, and the wax should melt smoothly.
Next, once the wax is fully melted, we’ll remove the jar from the heatproof container and prepare it for use.
6. Remove the Jar
Once the wax has completely melted, carefully lift the jar out of the heatproof container using tongs or an oven mitt to avoid burns. Let the jar cool down slightly before handling it further. It’s crucial to be patient here, as the jar may still be hot and the wax can remain quite liquid for a little while.
Next, once the wax has cooled down, we’ll allow it to solidify or dispose of it properly.
7. Cool and Clean
Finally, allow the melted wax to cool and solidify before disposing of it or repurposing it. If you want to reuse the wax, you can pour it into a mold or another container to create a new candle. Once the wax has fully hardened, you can clean the jar thoroughly to prepare it for another round of use.
By following these steps, you can safely melt your candle wax and reuse your jars in an eco-friendly and creative way. Enjoy your homemade candles or simply give your old candles a new life!
Safe Methods to Melt a Candle in a Glass Jar
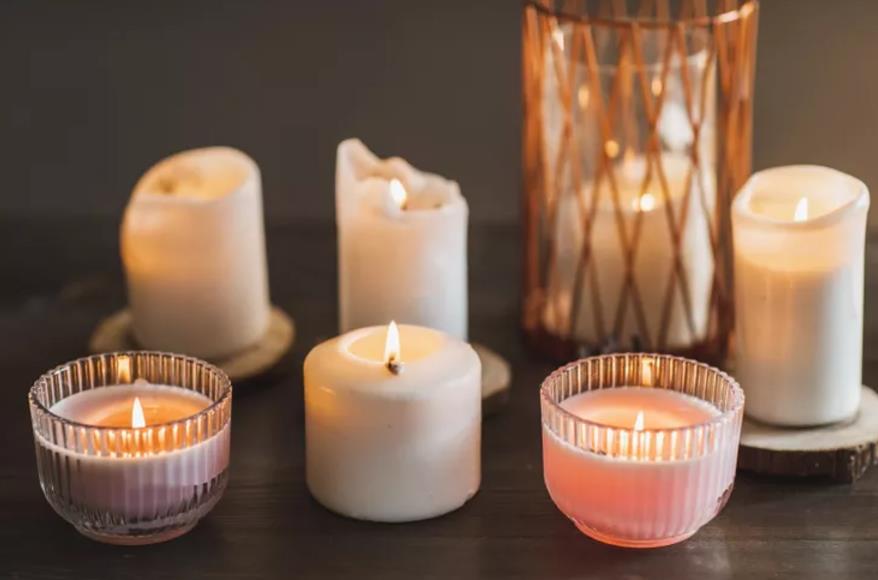
Oven Method
The oven method is a great and safe way to melt candles in a glass jar. It lets the wax melt slowly and evenly without the risk of damaging the glass.
Here’s a simple guide for melting candles in the oven:
- Preheat your oven: Set the temperature between 150°F and 170°F (65°C to 75°C). Avoid going higher to prevent the glass from cracking.
- Prepare the jar: Place your glass jar on a baking tray lined with aluminum foil. This will help catch any wax that may spill over.
- Melt the wax: Put the tray in the oven and let the wax melt for about 10 to 15 minutes. Stay close by and watch it to make sure the wax doesn’t overheat.
- Remove the jar: When the wax is fully melted, carefully take the jar out using oven mitts. Be cautious, as the jar will be hot.
- Reuse or repurpose: Once melted, you can pour the wax into a mold or another container to reuse it.
Hot Water Bath Method
If you don’t have an oven available, you can still melt your candle wax safely using a hot water bath. Here's how:
- Boil water: Start by boiling a pot of water. Once it reaches a rolling boil, turn off the heat.
- Place the jar in the water: Carefully set your glass jar into the hot water, ensuring that the water doesn’t rise above the height of the jar.
- Melt the wax: Let the heat from the water gently melt the wax inside the jar. It will take a little longer than using an oven or double boiler, but it works just as well.
- Remove the jar: Once the wax has completely melted, carefully remove the jar from the water. Now you're ready to repurpose the melted wax!
Double Boiler Method
The double boiler method is a gentle way to melt wax without exposing it to direct heat. It's perfect for glass jars that might crack under high temperatures.
Here’s how to do it:
- Set up the boiler: Fill a large pot with water and bring it to a gentle simmer on the stove.
- Place the jar: Put your glass jar into a smaller heat proof container, then set it inside the larger pot.
- Melt the wax: Let the steam slowly melt the wax inside the jar. Just be sure no water splashes into the jar.
- Remove and repurpose: When the wax is completely melted, carefully take out the jar and pour the wax out for future use.
What Are Common Mistakes to Avoid When Melting Candles in Glass Jars?
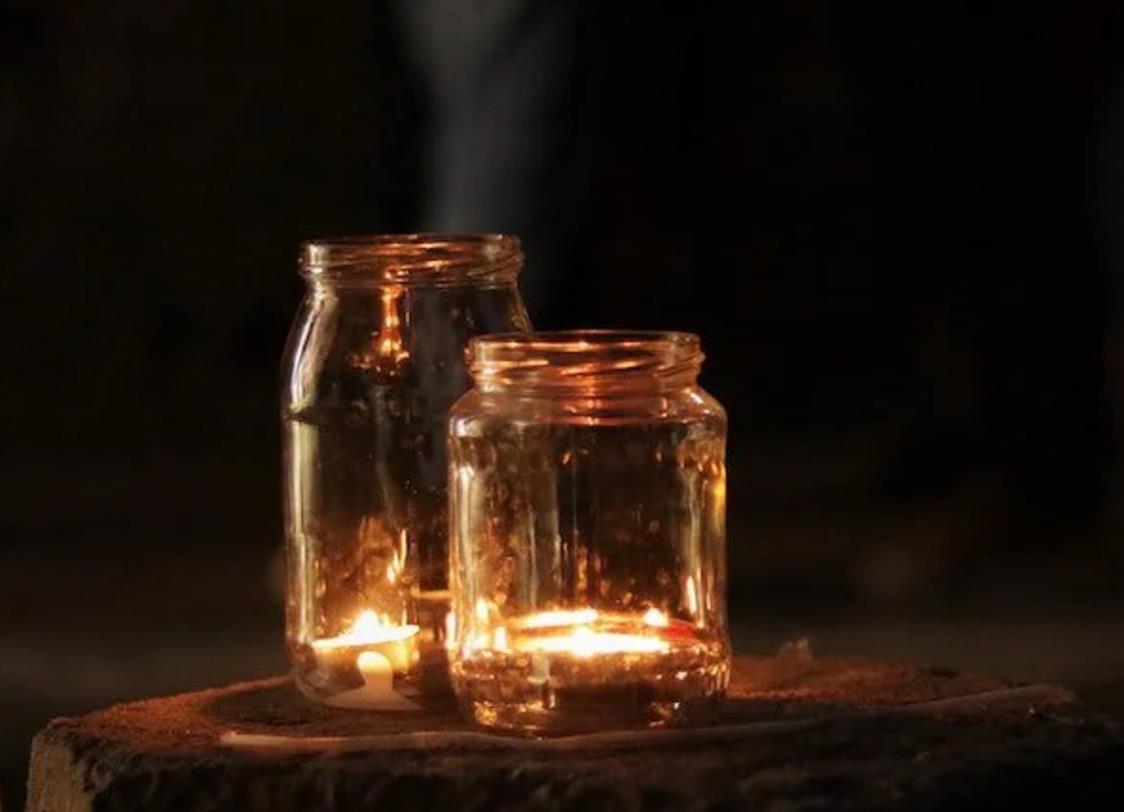
When you're melting candles in glass jars, there are a few common mistakes you’ll want to avoid to make sure the process goes smoothly and safely:
- Using too high of a heat – You might be tempted to speed up the process by cranking up the heat, but this can lead to uneven melting and even crack your glass jar. Always melt the wax at a lower, controlled temperature to ensure it melts evenly and safely.
- Not monitoring the wax closely – If you leave the wax unattended, it can overheat and catch fire. It’s important to keep an eye on it, stir occasionally, and make sure the wax doesn’t get too hot. A thermometer can help you maintain the ideal temperature, which is usually between 170-180°F.
- Pouring too quickly – Rushing the pouring process might cause air bubbles or uneven layers in your candle. Pour the melted wax slowly into the jar, leaving a little space at the top to avoid spills and give the candle room to set properly.
- Forgetting to secure the wick – If the wick isn't properly secured at the bottom of the jar, it can shift as the wax hardens, making your candle burn unevenly. Be sure to use a wick holder or a bit of melted wax to keep it centered while the candle sets.
- Not allowing enough cooling time – Patience is key when making candles. If you try to light your candle before it’s fully cooled and hardened, the wax can become soft and the wick can lean or collapse. Let it sit for a few hours before lighting.
EndNote: How To Melt A Candle In A Glass Jar
Melting a candle in a glass jar is simple if you use the right methods and take your time. Whether you choose the double boiler method, hot water bath, or oven, the key is to control the heat and remain patient throughout the process. Once the wax has melted, it opens up a world of possibilities for reusing it in creative ways.
At Global Reach Ceramic, we believe in making things easier and more sustainable—just like how you can repurpose your old candle jars. Imagine transforming your used candles into personalized creations or thoughtful gifts.
So, the next time you're wondering how to melt a candle in a glass jar, remember that with the right tools and techniques, you can unlock endless creative potential. What will you do with your melted wax next? Let us know your ideas in the comments below!
FAQ
Question : How Long Does It Take to Melt a Candle in a Glass Jar?
Answer: It usually takes about 30 minutes to melt a candle in a glass jar, depending on the size and type of wax. If you're using a microwave or stovetop, the time may vary, but always keep an eye on it to avoid overheating the glass.
Question : Can You Reuse the Wax After It Has Melted in the Glass Jar?
Answer: Yes, you can reuse the wax after it has melted in the glass jar. Once the wax has fully melted and cooled, you can scrape out the remaining wax and reuse it for future candles. Just make sure to remove any wick debris and clean the jar before pouring in fresh wax.
RECENT POSTS
- Ceramic Cookware vs Cast Iron: What Should You Choose?
2026-01-19
- Ceramic Glazing Techniques & Benefits in 2026
2026-01-19
- The Benefits of Wholesale High-Quality Ceramic Products for Retailers
2025-12-17
- Can You Make an Ashtray with Air Dry Clay? Pros, Cons, and Safer Alternatives
2025-12-17
- The Impact of Ceramic Materials in Energy-Efficient Buildings: Benefits and Applications
2025-12-04
- Top 7 Ceramic Cookware Health Benefits: Why It’s a Safer Choice for Your Kitchen
2025-12-04
- How to Clean Ceramic Planters and Improve Their Lifespan?
2025-11-17
- 15 Best Ceramic Holiday Gift Ideas for 2025: Thoughtful, Elegant & Heartfelt
2025-11-17


