
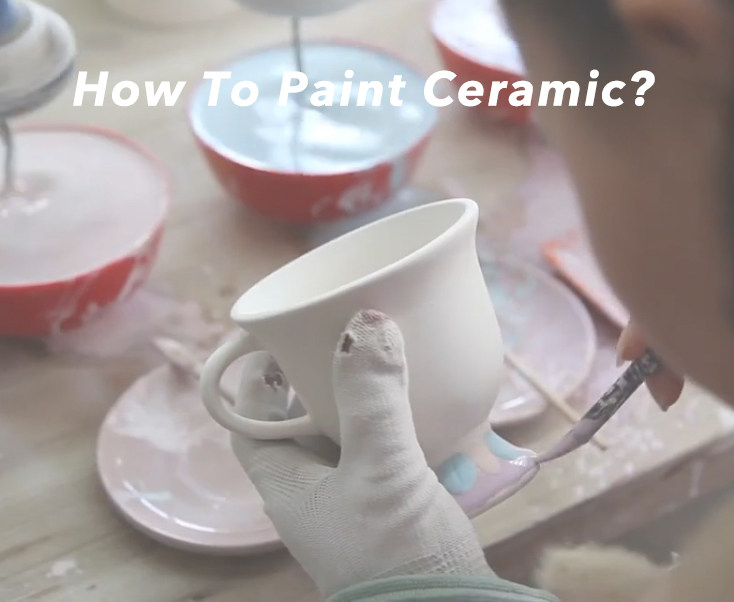
A lot of people are eager to discover the secrets of "How to Paint a Ceramic Vase." We're equipped with detailed insights, drawn from our own experiences and comprehensive analysis, ready to enlighten you?
To paint a ceramic vase, clean it first, then apply a primer and use acrylic paint. Let the paint dry before sealing with a clear sealant.
Painting a ceramic vase is an engaging DIY project that can transform a simple object into a personalized piece of art. You'll need a handful of supplies, including a high-quality ceramic primer, acrylic paints, and a clear sealant to protect your work.
For optimal results, select a smooth-surfaced vase and ensure it's clean before painting. Work in a well-ventilated space and use various brushes for different effects. Apply paint thinly and evenly for a professional finish. Once you've finished painting, sealing your vase will maintain its beauty and durability, ready to hold your favorite blooms.
Fujian Dehua Dongsheng Ceramic Co. LTD encourages creativity in ceramic arts. With our guidance, you'll transform a plain vase into a stunning artwork.
Let's dive in!
Ceramic vase painting is a delightful way to bring color into your home. With simple tools and techniques, you can transform a plain vase into a masterpiece. Whether you're a beginner or a seasoned artist, painting on ceramic offers endless possibilities for creativity.
1. Personal Touch: Create a vase that matches your style.
2. Unique Gift: Hand-painted vases make thoughtful presents.
3. Fulfillment: Enjoy the satisfaction of creating something beautiful.
4. Decor Upgrade: Enhance any room with your personalized decor.
| Material | Use |
| Ceramic Vase | The canvas for your art |
| Acrylic Paints | Bring color to your vase |
| Paint Brushes | Apply paints with finesse |
| Sealer | Protect your masterpiece |
| Stencils | For precise designs |
To begin, ensure you have quality supplies that suit your skill level. Always start with a clean vase for the best results. Keep in mind, practicing on scrap ceramics can build confidence before you start on your vase.
An artistic adventure awaits with ceramic vase painting! This fun project merges creativity with home decor, opening a world of colors and patterns to adorn your living space. Perfect for all ages, painting a ceramic vase is not only therapeutic but also a chance to craft a one-of-a-kind masterpiece. Before the painting begins, the first step is critical: choosing the right vase and design.
The foundation of your art piece is crucial. Consider these points:
1. Size: Think about where you'll display your vase. Size matters for fitting in that special spot.
2. Shape: From cylindrical to curvy, choose a shape that excites you and complements your envisioned design.
3. Texture: Smooth surfaces are easier for beginners, while textured vases add an extra challenge.
4. Quality: Ensure your vase has no cracks or chips. A sturdy vase makes a lasting piece of art.
The design is the heart of your project. Seek inspiration with these tips:
| Source of Inspiration | How It Helps |
| Nature | Plants and landscapes offer endless color and pattern combinations. |
| Art | Classic paintings can guide your color choices and themes. |
| Culture | Patterns and motifs from different cultures can spark creative designs. |
| Fashion | Current trends can translate into stylish and modern vase decorations. |
Combine different elements for a unique design or focus on a single motif for elegance. Don't forget to sketch your ideas on paper before you begin. Your creativity is the limit!
Transforming a ceramic vase into your own artistic expression begins with proper preparation. To achieve the best results, the vase must be ready for paint. This guide will walk you through two essential steps: cleaning and priming the surface.
Cleanliness is key. Begin by wiping down your ceramic vase to remove any dust, dirt, or grease. You can use a damp cloth for dust, or for more stubborn grime, a mix of warm water and mild dish soap works wonders. Rinse the vase thoroughly with water and dry it carefully with a soft towel. Ensure the vase is completely dry before proceeding to the next step.
Prior to adding color, a base coat is essential. It helps the paint adhere to the ceramic surface and provides a uniform color background. Use a high-quality paint primer suitable for ceramic materials. Apply with a soft brush or a foam roller to avoid brush marks. Allow the base coat to dry completely, as per the manufacturer's instructions, before moving on to painting your design.
| Step | Materials Needed | Action |
| Cleaning | Damp cloth, mild soap, towel | Wipe, wash, dry |
| Base Coat | Primer, brushes/roller | Apply, let dry |
With these preparatory steps done, your vase is now a blank canvas. Enjoy the painting process, letting creativity flow onto your perfectly prepped ceramic piece.
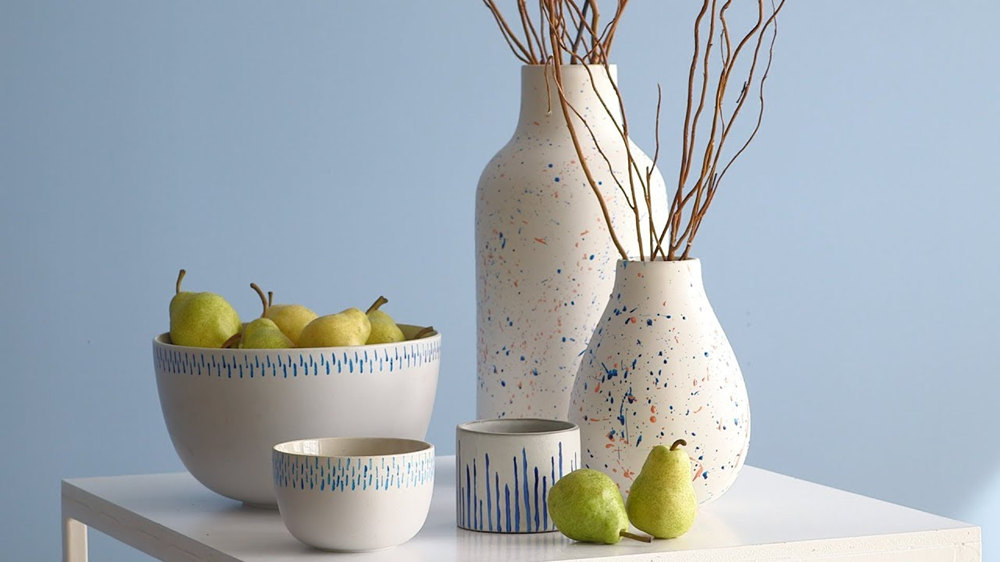
Credit: collectivegen.com
Selecting the right paint for a ceramic vase is crucial for a stunning finish. You need paints that stick to the surface and last. In this section, we discover the ideal paints for your ceramic project.
Acrylic paints are popular for their ease of use. They dry fast and clean up with water. Yet, their durability on ceramics can be an issue.
Ceramic paints, specifically made for pottery, fuse to ceramic surfaces when baked. This process ensures a long-lasting finish. Consider your project needs when choosing.
| Paint Type | Application | Drying Time | Durability |
| Acrylic | Easy, water cleanup | Quick | Less |
| Ceramic | Requires baking | Long (post-baking) | More |
Once painted, sealing your vase protects the design. A sealant locks in the color and prevents chipping.
1. Use a water-based sealant for acrylics.
2. For ceramics, a clear glaze works best.
3. Apply sealant with a brush or spray.
4. Let it dry as instructed.
This step extends your vase's life and keeps the paint looking fresh. Be sure to complete this crucial task for the best results.
Ready to give your old ceramic vase a vibrant new look? Painting your ceramic piece can transform it from dull to delightful. With the right techniques, your vase can become a customized work of art that stands out in any room. Let's explore some fun painting methods that you'll love trying out on your next project!
Master the art of brush strokes to start your vase painting journey. Different brushes create unique textures and effects:
1. Flat brushes work great for broad, even coats.
2. Round brushes let you make detailed lines and patterns.
3. Filbert brushes blend colors smoothly on curved surfaces.
Select high-quality acrylic paints for their durability and rich pigment. For best results, apply a base layer and let it dry. Then, layer your colors, mixing them on a palette for custom shades.
Using sponges and stencils opens a world of creativity. Sponges dab on paint for a textured, mottled look. Stencils guarantee sharp designs that are hard to achieve by hand.
| Material | Technique | Effect |
| Sponge | Dabbing | Textured Layers |
| Stencil | Tracing | Precise Patterns |
Dip a sponge lightly in paint and blot on paper before applying to the vase. This ensures an even application. For stenciling, secure the stencil with tape. Then, use a stencil brush or sponge to apply paint.
Get creative with both techniques by mixing and matching patterns. Overlay stencils over sponged backgrounds for an impressive effect. The possibilities are endless when you blend these two painting methods.
Adding Details and Finishing Touches breathes life into your ceramic vase project. Once the base layers of paint have dried, it's time to elevate your creation with intricate designs and unique accents. This phase is all about personalization and precision. Implementing fine brushes and 3D elements can transform a simple vase into an eye-catching piece of art.
Using fine-tip brushes allows for precision in your details. Start with:
1. Light pencil sketches to guide your painting.
2. Thin brushes for delicate lines and patterns.
3. High-quality acrylic paint to ensure vibrancy and longevity.
Work slowly to ensure each line is as sharp and clean as possible. Allow each layer to dry completely before proceeding to the next to prevent smudging.
Add texture and dimension to your vase with 3D embellishments:
| Material | Application Method | Positioning Tips |
| Beading | Glue with a strong adhesive | Follow your pattern |
| Small stones | Attach with epoxy or resin | Create focal points |
| Clay pieces | Adhere before firing | Balance the design |
Each 3D addition should enhance your vase's character. Think about the overall theme and place each element thoughtfully for maximum impact.
After painting your ceramic vase, the drying and curing process is crucial. It ensures the paint adheres well and the colors stay vibrant. Here's a guide to properly dry and cure your masterpiece.
Once you've finished painting, air drying is the next step. Proper air drying can make a big difference in the outcome of your vase's appearance.
1. Find a dust-free area to place your vase.
2. Rotate the vase every few hours to ensure even drying.
3. Avoid direct sunlight, as it might cause the colors to fade.
4. Allow at least 24 hours for the vase to dry completely.
Baking your vase in an oven is a method to cure the paint and enhance durability. This is especially important if you used acrylic paints.
1. Preheat your oven to the temperature specified by the paint's manufacturer.
2. Place the vase in the oven and bake for the recommended time.
3. After baking, turn off the oven and let the vase cool down inside.
Remember: Not all paints require baking. Check the label on your paint for specific instructions.
Once you've completed painting your ceramic vase, it's essential to protect your artwork. A good sealant will keep the colors vibrant and prevent wear from handling or moisture. This part of the process ensures your design lasts for years, maintaining its beauty. Let's dive into the steps to make sure your creation stands the test of time.
Choosing the right sealant
Picking a suitable sealant is pivotal. Your choice depends on the ceramic's use and exposure.
1. Food-safe sealant for vases that will hold edibles.
2. Waterproof sealer for outdoor display.
3. Non-yellowing options to preserve the color integrity.
Additionally, choose between a glossy or matte finish based on your aesthetic preference.
Applying the sealant correctly
Proper application is crucial for the sealant to be effective. Follow these steps for best results:
1. Ensure the paint is completely dry.
2. Work in a well-ventilated area.
3. Apply the sealant in thin, even coats.
4. Allow ample drying time between coats.
5. Inspect for any missed spots or bubbles.
At least two coats usually provide optimal protection. Check the sealant's instructions for specific drying times.
Maintenance and Care Tips ensure your ceramic vase keeps its vibrant colors and finish for years to come. After the thrill of painting your ceramic vase, upkeep becomes the key to preserving its beauty. Apply these simple strategies to protect your art.
Keep your vase looking pristine with proper cleaning techniques. Steer clear of harsh chemicals that can strip paint and glaze. Instead, opt for a soft, damp cloth to wipe down the surface gently.
Use room temperature water for cleaning.
1. Avoid soaking the vase in water.
2. Pat dry immediately after cleaning.
Avoid direct sunlight to prevent paint from fading. Position your vase in a spot that sees minimal handling to reduce the risk of chips and scratches.
| Do | Don't |
| Display in a stable area | Expose to extreme temperatures |
| Use protective pads underneath | Use abrasive cleaning tools |
Refrain from filling the vase with water if it?s not sealed. Consider lining the inside with a waterproof insert if using it for fresh flowers. This practice prevents water damage and extends the life of your painted ceramic vase.
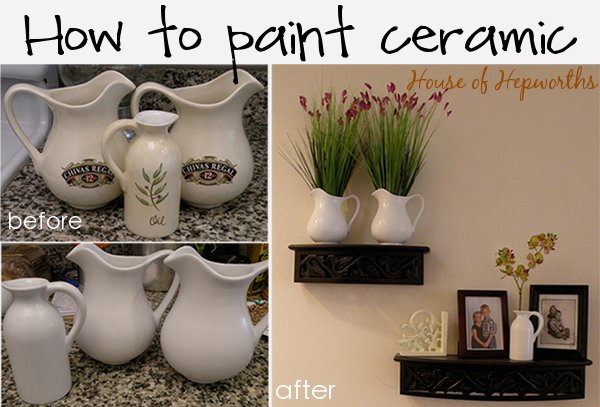
Credit: www.houseofhepworths.com
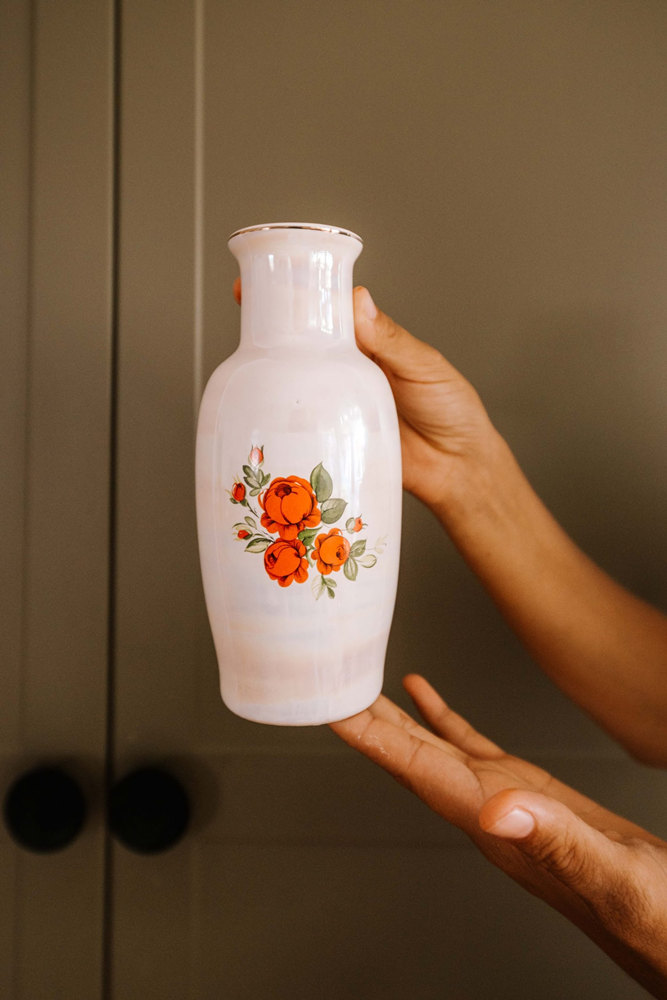
After lovingly painting a ceramic vase, you're ready to showcase your artwork. Whether it breathes new life into a corner of your home or you're thinking of passing it on as a heartfelt gift, the beauty of a hand-painted vase is in the display. Every brushstroke tells a story, every color choice reflects your personality, and now it's time to let your creation shine!
Your home is the ultimate canvas for your hand-painted vase. Plus, it's an immediate conversation starter. Here are some unique ways to display your masterpiece:
Centerpiece Charm: Place it on your dining table filled with fresh flowers.
Mantelpiece Feature: Let it be the star of your living room above the fireplace.
Window Art: Sunlight through the colors adds a vibrant touch.
Bookcase Accent: Nestle it among books for a cozy look.
Art Nook: Create a quiet corner with your vase as the focal point.
A customized ceramic vase makes a thoughtful and personalized gift. Each brushstroke is a part of the sentiment you're passing along. Below are ways to gift your ceramic artwork:
| Occasion | Idea |
| Birthdays | Match the vase colors with the recipient's birthstone. |
| Weddings | Personalize with the couple's initials and wedding date. |
| Housewarmings | Add a touch of warmth with a welcoming message. |
| Anniversaries | Celebrate with golden accents for milestone years. |
| Just Because | Simply share your art to brighten someone's day. |
Remember, your hand-painted vase is not just a vessel but a statement of your creativity. Display it proudly or gift it to spread the joy. The unique charm of your ceramic vase is sure to capture hearts and beautify spaces.
Credit: www.youtube.com
At the end, mastering the art of painting ceramic vases allows for the creation of personalized masterpieces. With the correct tools and methods, crafting stunning designs becomes accessible to all. Encourage your creative instincts and ensure adequate drying periods for optimal results. Share your vibrant creations to inspire others or relish in bespoke decor that infuses vibrancy into any space.
Embrace the journey of "How to Paint a Ceramic Vase" and let your artistic vision flourish with the guidance of Fujian Dehua Dongsheng Ceramic Co. LTD.
Frequently Asked Questions On How To Paint A Ceramic Vase
Answer: Yes, most ceramic vases can be painted. Ensure it's clean and unglazed for best results. Priming before painting is recommended for optimal paint adherence.
Answer: Acrylic paint is ideal for ceramic vases. It's easy to use and dries quickly. For durability, consider using enamel-based paints or sealing with a clear sealer afterward.
Answer: Baking is not mandatory but helps seal the paint. If using acrylic paint, let it cure naturally or follow specific ceramic paint instructions that may require baking.
Answer: Clean the vase with soapy water, rinse it well, and let it dry completely. Sand lightly if glazed, then wipe down with rubbing alcohol before painting.
2026-04-02
2026-04-02
2026-01-19
2026-01-19
2025-12-17
2025-12-17
2025-12-04
2025-12-04